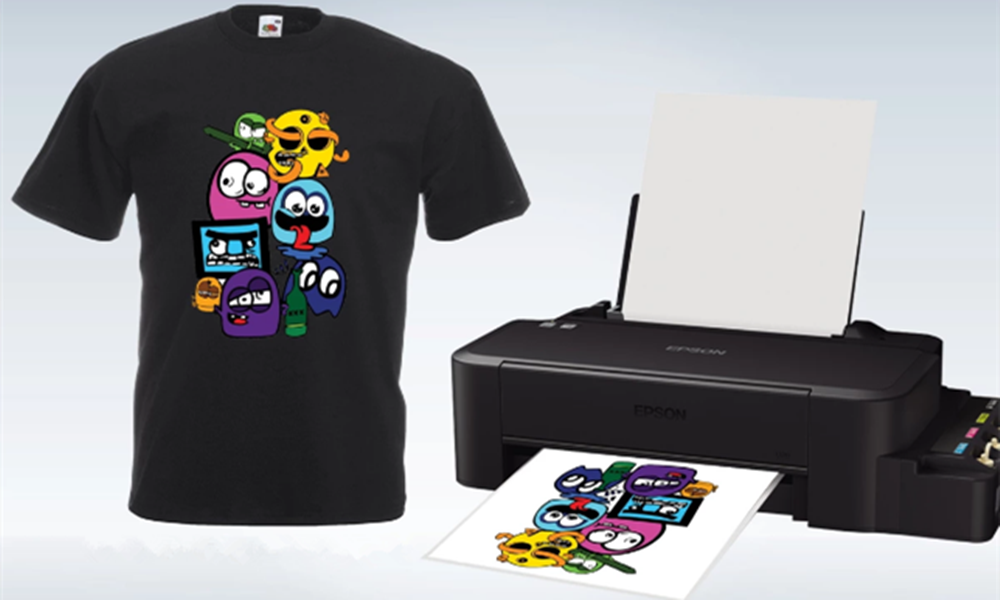
T-shirt transfer paper is one of the simplest ways to create personalized clothing. But simplicity doesn't mean it's foolproof.
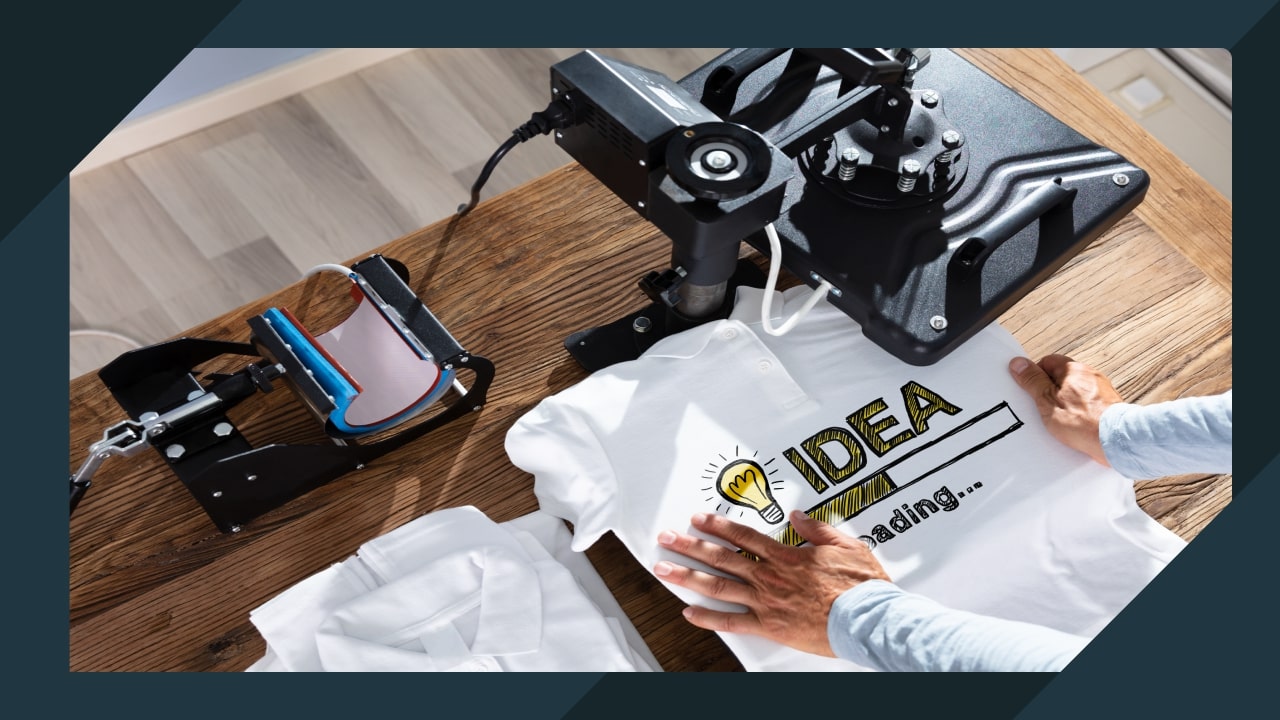
Our factory has encountered countless failures—the design cracks after just one wash, the design peels off quickly, and the transfer looks flawless on the inkjet transfer paper but disappears completely on the fabric.
The vast majority of these failures boil down to the same five mistakes. However, each of these mistakes is avoidable.
In this guide, I'll walk you through the five most common mistakes people make when using T-shirt transfer paper, explain why, and show you how to correctly solve them. Based on over 20 years of production experience in our transfer paper factory, these are the problems we hear most often, and the effective solutions we know.
Let's begin.
Error 1: Printing on the Back of the Paper
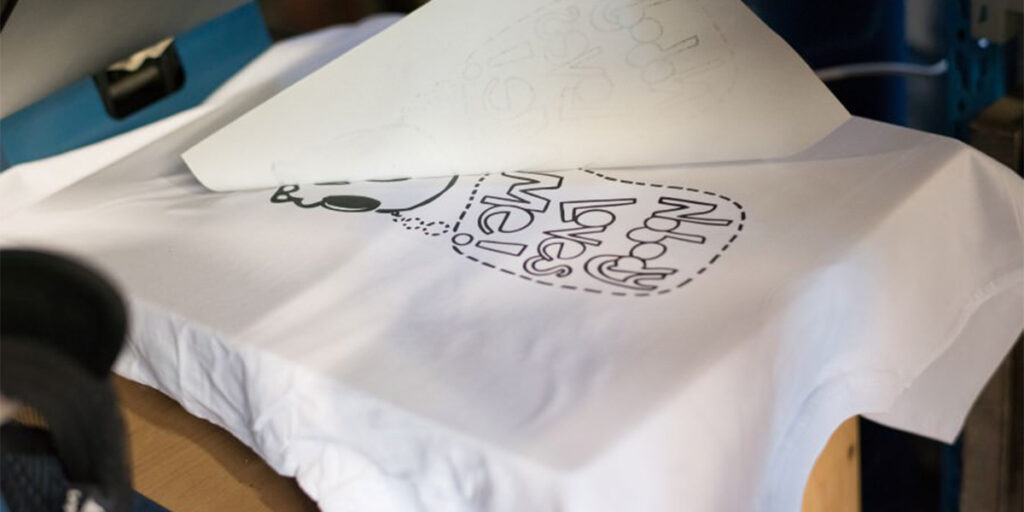
This is the most basic and easily made mistake. You spend time designing, printing, and heat-pressing, only to find that the design just won't transfer.
Cause
One side of the transfer paper is the coated side, which absorbs ink; the other side is the backing paper, which does not absorb ink. If the paper is loaded backwards, the ink will remain on the backing paper. When heated, since there is no ink to transfer, the design cannot be transferred.
Solution
- Check the paper—the coated side is usually smoother, shinier, or slightly glossy.
- Check the markings—many papers have markings or watermarks printed on the back.
- Load only one sheet of paper at a time—if your printer has a manual paper tray, use it.
- Print a small test image first—print a simple shape before printing the full design to confirm the paper is loaded correctly.
Koalapaper Tip: Our AW-L light transfer paper and AW-D dark transfer paper have clear markings on the back. If unsure, feel the paper—the texture of the coated side is slightly different.
Error 2: Forgot to Mirror (Reverse) the Image During Printing
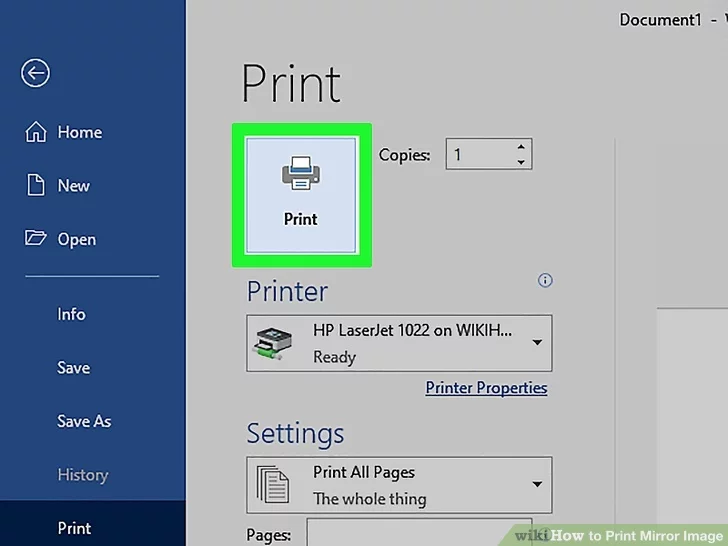
You printed a design with text. It looks perfect on paper. However, after hot stamping, the text is reversed, commonly seen when using light transfer paper.
Cause
When printing with light transfer paper, the design must be mirrored horizontally before printing. Because you are placing the paper face down on the fabric, the image will flip during the transfer process.
For dark transfer paper, mirroring is not necessary because its white backing is opaque.
Solution
- For light transfer paper: Always enable mirror or reverse printing in the printer settings.
- For dark transfer paper: Print normally—no mirroring is needed.
- Check carefully before printing—view the preview screen to confirm.
- Test with a simple design—print a small amount of text on plain paper first to confirm the orientation.
Koalapaper Tip: Our AW-L light transfer paper requires mirror printing. Our AW-D dark transfer paper does not. If you are unsure which type of paper you are using, please check the packaging or contact our technical support team.
Error 3: Improper Temperature, Pressure, or Time
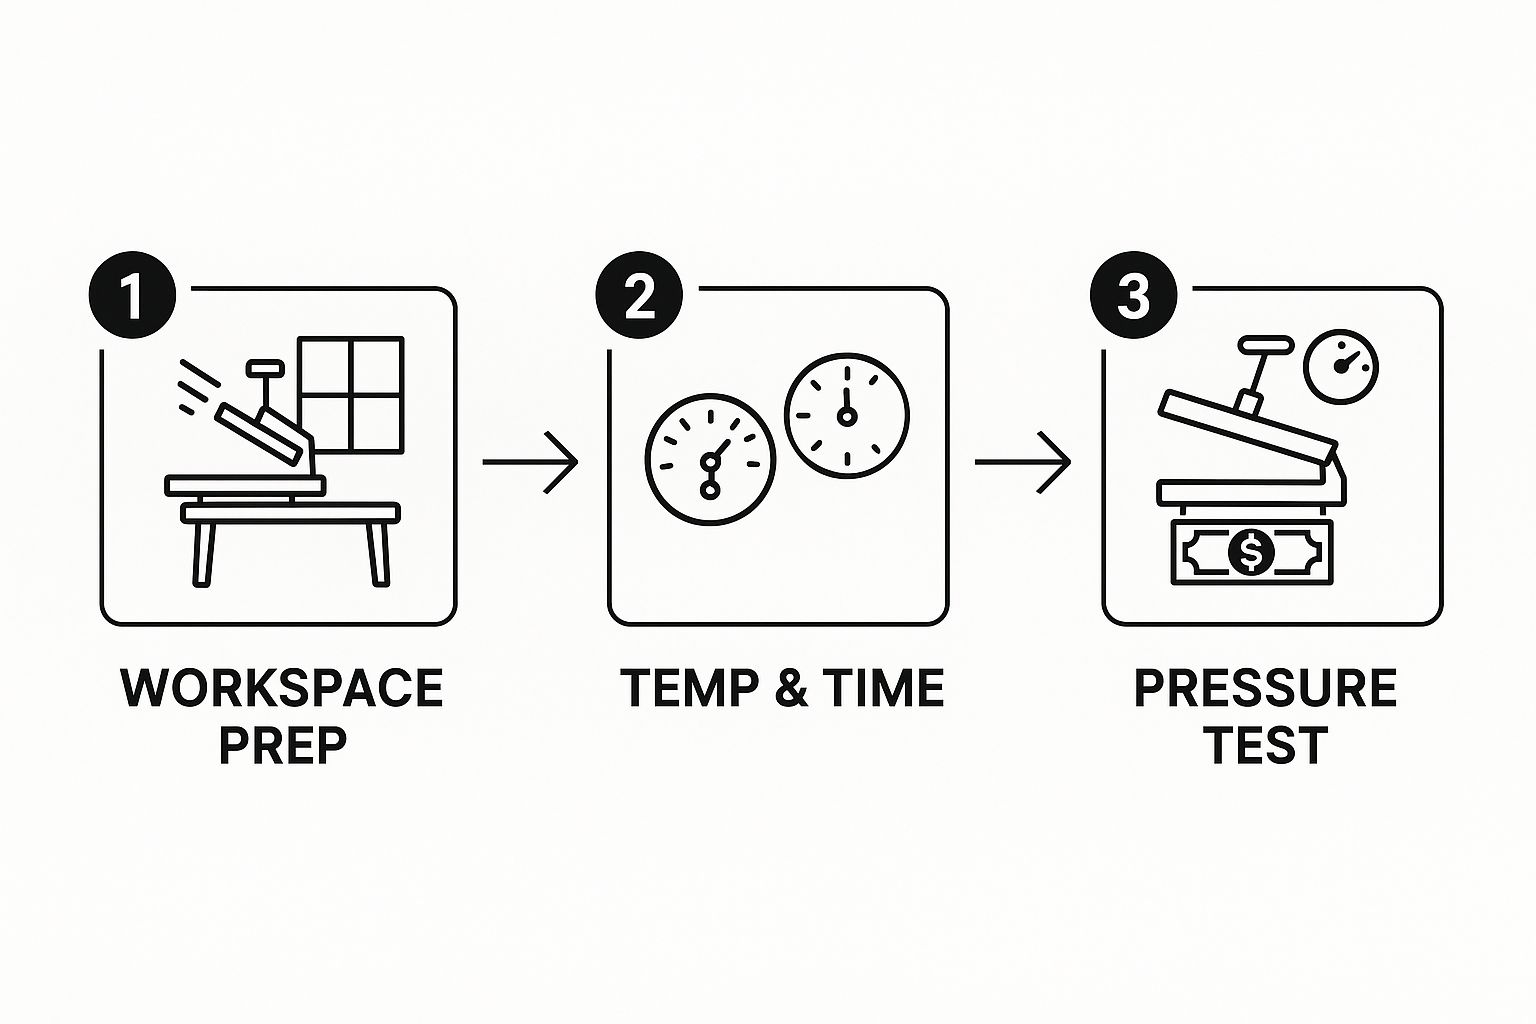
This is the most important reason for transfer failure. Too low a temperature prevents the ink from adhering; too high a temperature burns the paper; uneven pressure prevents the pattern from transferring.
Causes
- Too low a temperature—the adhesive cannot be fully activated.
- Too high a temperature—the coating burns or becomes brittle.
- Too little pressure—the ink cannot make sufficient contact with the fabric.
- Too little time—the transfer cannot be completed.
- Too much time—the paper overheats, damaging the adhesive.
- Uneven pressure—the pattern cannot be completely transferred.
Recommended Settings (Koala Paper)
Paper Type Temperature Time Pressure
- 【AW-L Light Transfer Paper】 180–190°C (356–374°F) 15–25 seconds Medium Pressure
- 【AW-D Dark Transfer Paper】 160–180°C (320–356°F) 15–25 seconds Medium Pressure
Solutions
- Use a heat press – A household iron will also work, but a heat press provides more consistent temperature and pressure.
- Pre-press the garment – Before transferring, press the garment for 3–5 seconds to remove moisture and wrinkles.
- Apply even pressure – Ensure even pressure across the entire pattern area.
- Avoid seams and zippers – Iron only on smooth, flat areas.
- Use a thermometer – Use an infrared thermometer to confirm the heat press temperature.
A professional tip from Koala Paper: If you are using a home iron, turn off the steam function, set the iron to the highest temperature for cotton garments, and apply even, steady pressure while constantly moving the iron. For best results, we recommend purchasing a heat press.
Error 4: Improper Timing of Heat Transfer Paper Peeling
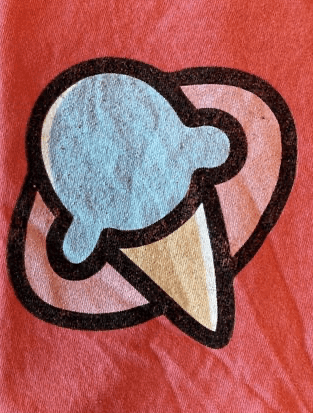
You have performed the heat pressing process. Now it's time to peel the heat transfer paper. Peeling too early will cause the design to peel off with the paper; peeling too late will cause the paper to stick to the design.
Cause
Different transfer papers require different peeling methods:
- Hot Peel – While the transfer design is still hot, press and immediately peel off the backing paper.
- Cold Peel – Allow the transfer design to cool completely before peeling off the backing paper.
- Warm Peel – Wait a few seconds before peeling.
- Using the wrong method may damage the transfer design.
Solution
Read the instruction manual – Each transfer paper is different. Please follow the manufacturer's recommended peeling method.
- For Koala Paper [AW-L Light Color Transfer Paper] – Use warm peel (peel while hot, but not too hot).
- For Koala Paper [AW-D Dark Color Transfer Paper] – Use cold peel (peel after the design has cooled completely).
- Tear Smoothly – Tear with continuous motion to avoid tearing or curling edges. If the design lifts up along with the paper—put the paper back in place, press down again for 5-10 seconds, and try again.
Koalapaper Tip: If you're unsure which peeling method to use, try cold peeling first. If the design doesn't transfer completely, you can always press down again. However, if you attempt hot peeling on paper that has been cold peeled, the design will come off and cannot be repaired.
Error 5: Washing Too Early or Improperly After Transfer Printing
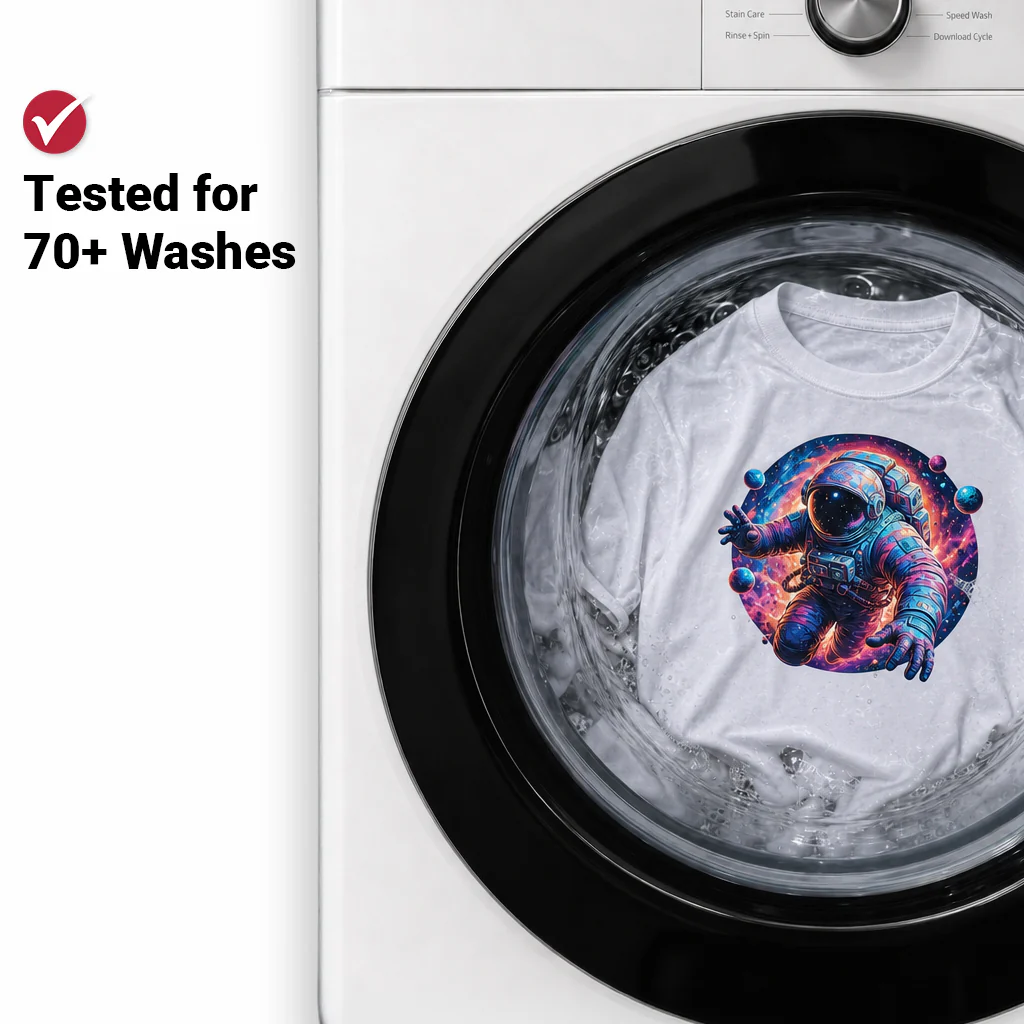
Your transfer print looks perfect, and you can't wait to wear it. So, you toss it into the washing machine that same day. The result? After one wash, the print cracks, peels, or fades.
Causes
- Washing Too Early – The adhesive needs time to fully cure.
- Hot Water – High temperatures weaken the adhesive.
- Washing Right Side Out – The print will rub against other garments, causing wear and tear.
- High Temperature Drying – High temperatures damage the adhesive layer.
- Bleach or Strong Detergent – Chemicals can damage the transfer layer.
Solutions
Immediate Treatment After Ironing:
- Wait at least 24 hours before washing.
- Do not wash the garment until the transfer print is fully cured.
Washing Instructions:
- Turn the garment inside out.
- Wash in cold or lukewarm water (maximum temperature 30–40°C / 86–104°F).
- Use a mild detergent—avoid bleach, fabric softener, and harsh chemicals.
- Wash separately for the first time.
Drying Instructions:
- Air dry whenever possible—this is the safest option.
- If using a dryer—turn the garment inside out and tumble dry on low heat.
- Never use high heat.
If the design cracks or peels:
- Cover the design with baking paper and press again with medium heat and pressure for 10-15 seconds.
- This will reactivate the adhesive and repair minor cracks.
Koalapaper Tip: The 24-hour waiting period is crucial. The adhesive needs time to fully bond with the fabric fibers. Washing too soon will quickly ruin a perfect transfer.
Quick Reference: 5 Mistakes at a Glance
| Mistake | Why It Happens | How to Avoid |
| 1. Wrong side of paper | Paper loaded backwards | Check coated side; load one sheet at a time |
| 2. Forgot to mirror | Light paper requires mirror printing | Enable mirror mode for light paper only |
| 3. Wrong heat/pressure/time | Incorrect settings | Use recommended temp (180–190°C), medium pressure, 15–25 sec |
| 4. Wrong peel timing | Hot peel vs cold peel mismatch | Follow paper instructions; AW-L = warm peel, AW-D = cold peel |
| 5. Washed too soon or wrong | Adhesive needs time to cure | Wait 24 hours; wash inside out in cold water; air dry |
Final Recommendations
Based on our over 20 years of production experience, here are our best tips to avoid these mistakes:
- Read the instructions—Instructions vary for each type of paper. Take two minutes to read the instructions before you begin.
- Test before you start—Print a small test pattern on plain paper to confirm orientation and settings.
- Use a heat press—If you plan to make multiple T-shirts, we recommend investing in a heat press. It can prevent most temperature and pressure problems.
- Wait 24 hours—This step is more effective than any other in preventing failure.
- Store the transfer paper properly—Store the transfer paper in a cool, dry place, avoiding moisture.
Finally, a final piece of advice: If the transfer fails, don't discard the garment. Most mistakes can be corrected by re-ironing with the correct settings. If you have any questions, please contact our technical support team—we're always ready to help.
Why does my transfer crack after washing?
Most likely due to insufficient heat or pressure during pressing, washing too soon, or washing in hot water. Follow the washing instructions above to prevent cracking.
Why does my design peel off?
This is usually caused by incorrect temperature, too little pressure, or peeling at the wrong time. Make sure your heat press is at the correct temperature and apply firm, even pressure.
Can I fix a peeling design?
Yes. Place parchment paper over the design and re-press with medium heat and pressure for 10–15 seconds.
What‘s the difference between AW-L and AW-D?
【AW-L light transfer paper】 — for light-colored fabrics, requires mirror printing, warm peel
【AW-D dark transfer paper】 — for dark fabrics, normal printing, cold peel