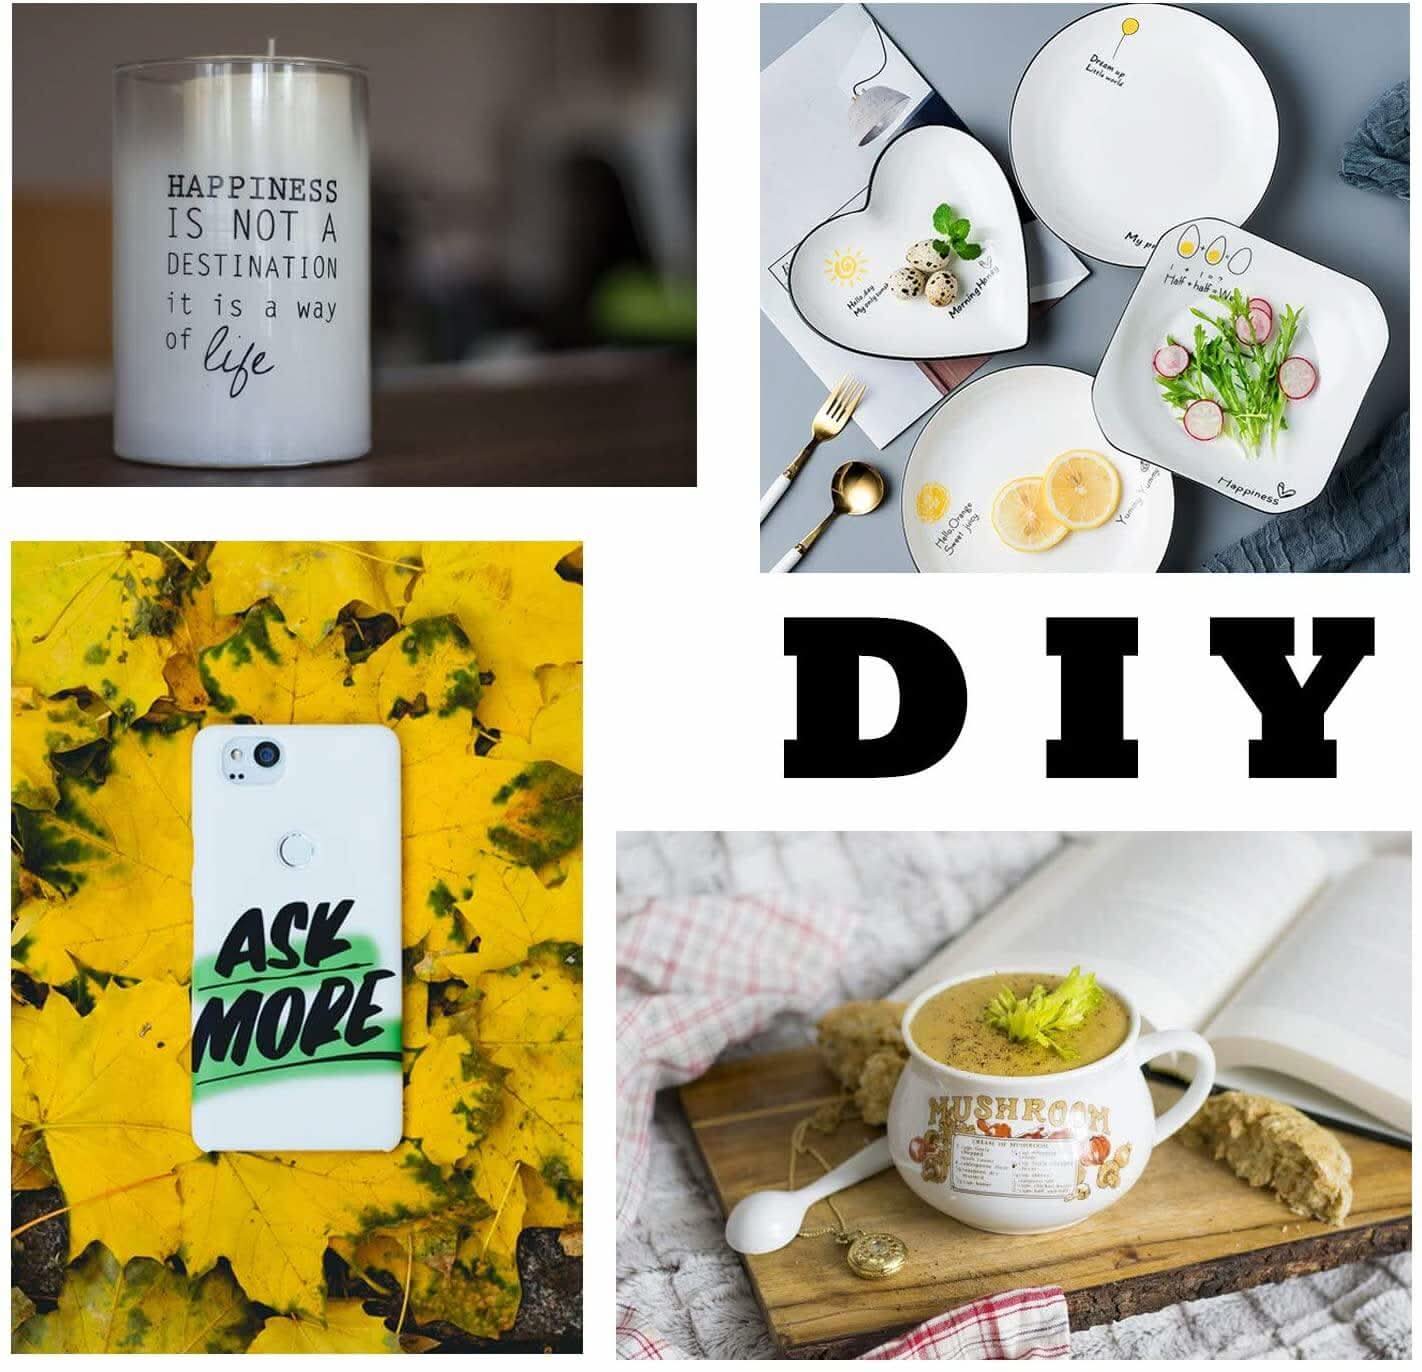
Waterslide decal paper is the most versatile personalization consumable. It transforms a regular printer (laser/inkjet) into a production tool, suitable for ceramic mugs, glassware, metal signs, model kits, and countless other curved surfaces. However, it's also one of the most challenging materials for beginners—a small mistake can ruin an entire batch.
Our decal paper factory has hundreds of customers in over 50 countries. We've encountered all sorts of errors, from over-soaking to neglecting the crucial baking step. In this How to Use Waterslide Decal Paper guide, I'll walk you through the entire process from start to finish. You'll not only learn the operating steps but also understand the importance of each one. I'll introduce traditional waterslide decals that require spraying, our factory's innovative spray-free waterslide decals (QM and PM-K7), and every factor that affects the final result.
After completing this waterslide decal tutorial, you will be able to consistently produce batches of professional-quality waterslide decals.
What You Need to Prepare Before You Begin
Adequate preparation is key to success. Before printing your first sheet of waterslide paper, prepare the necessary materials and tools.
Choosing the Right Waterslide Paper for Your Project
The most common mistake beginners make is choosing the wrong type of Decal paper. This decision will determine whether your waterslide paper disappears completely on a dark background.
Transparent waterslide decal Paper
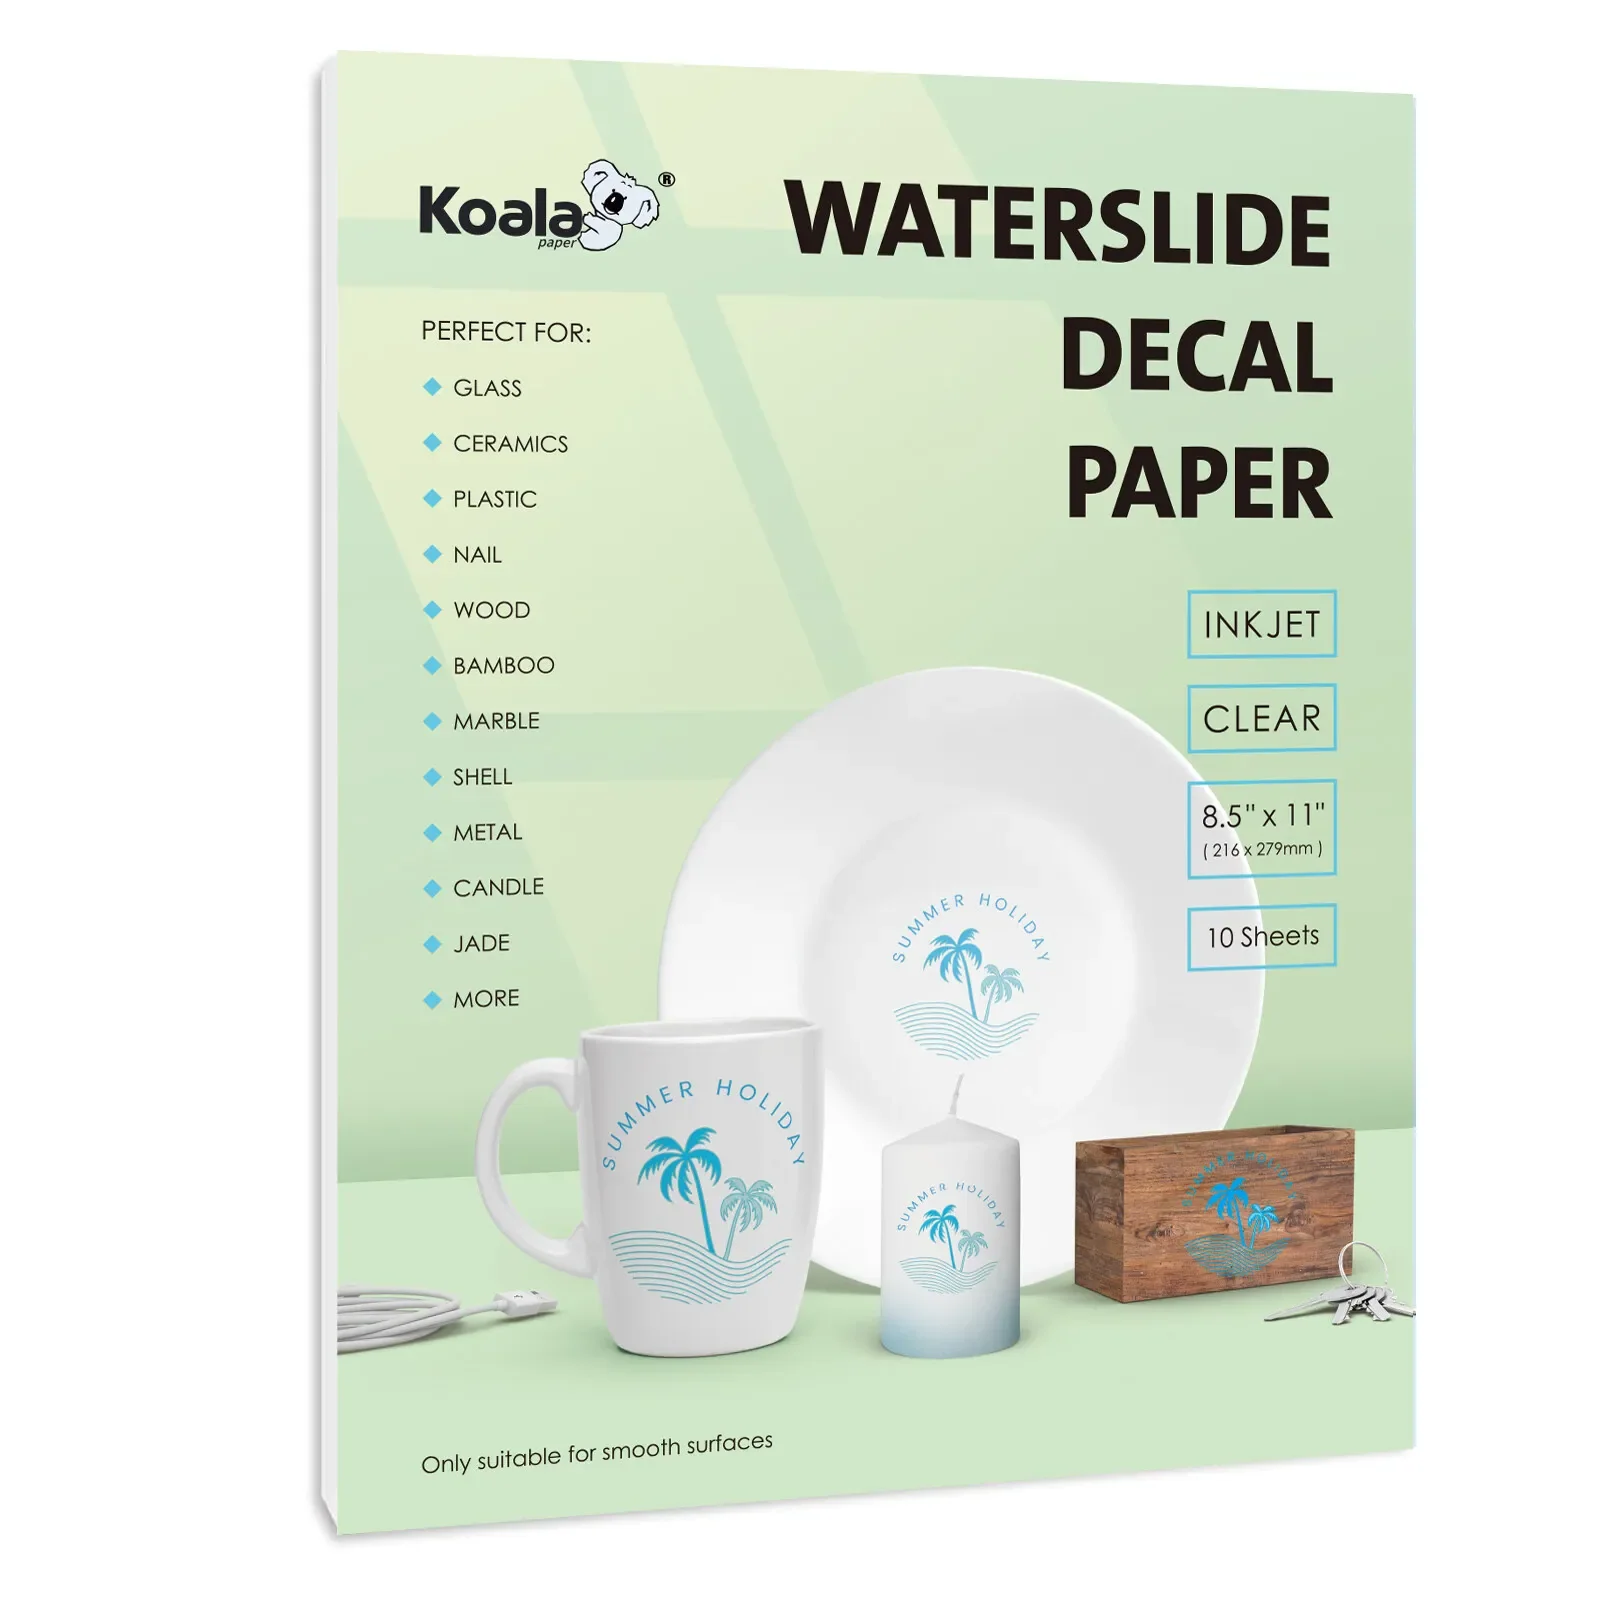
Transparent decal paper is designed for light-colored or transparent surfaces, such as white mugs, clear glassware, light-colored ceramics, and crystal. When transferred correctly, the edges of the sticker are almost invisible—it looks like it was printed directly onto the surface.
However, transparent decal paper has a key limitation: it doesn't have a white background. Because standard inkjet and laser printers cannot print white ink, any white areas in your work will become transparent. If your design contains white text or white elements, they will disappear on the substrate. Therefore, light waterslide decal paper is best suited for designs without white backgrounds.
| Paper Type | Best for | Key Limitation |
| Clear / Transparent | Light-coloured surfaces, glass, white ceramics | No white ink – white areas become transparent |
| White Base | Dark surfaces, black mugs, dark wood | White background is visible – not suitable for transparent glass |
White Base Water Transfer Paper
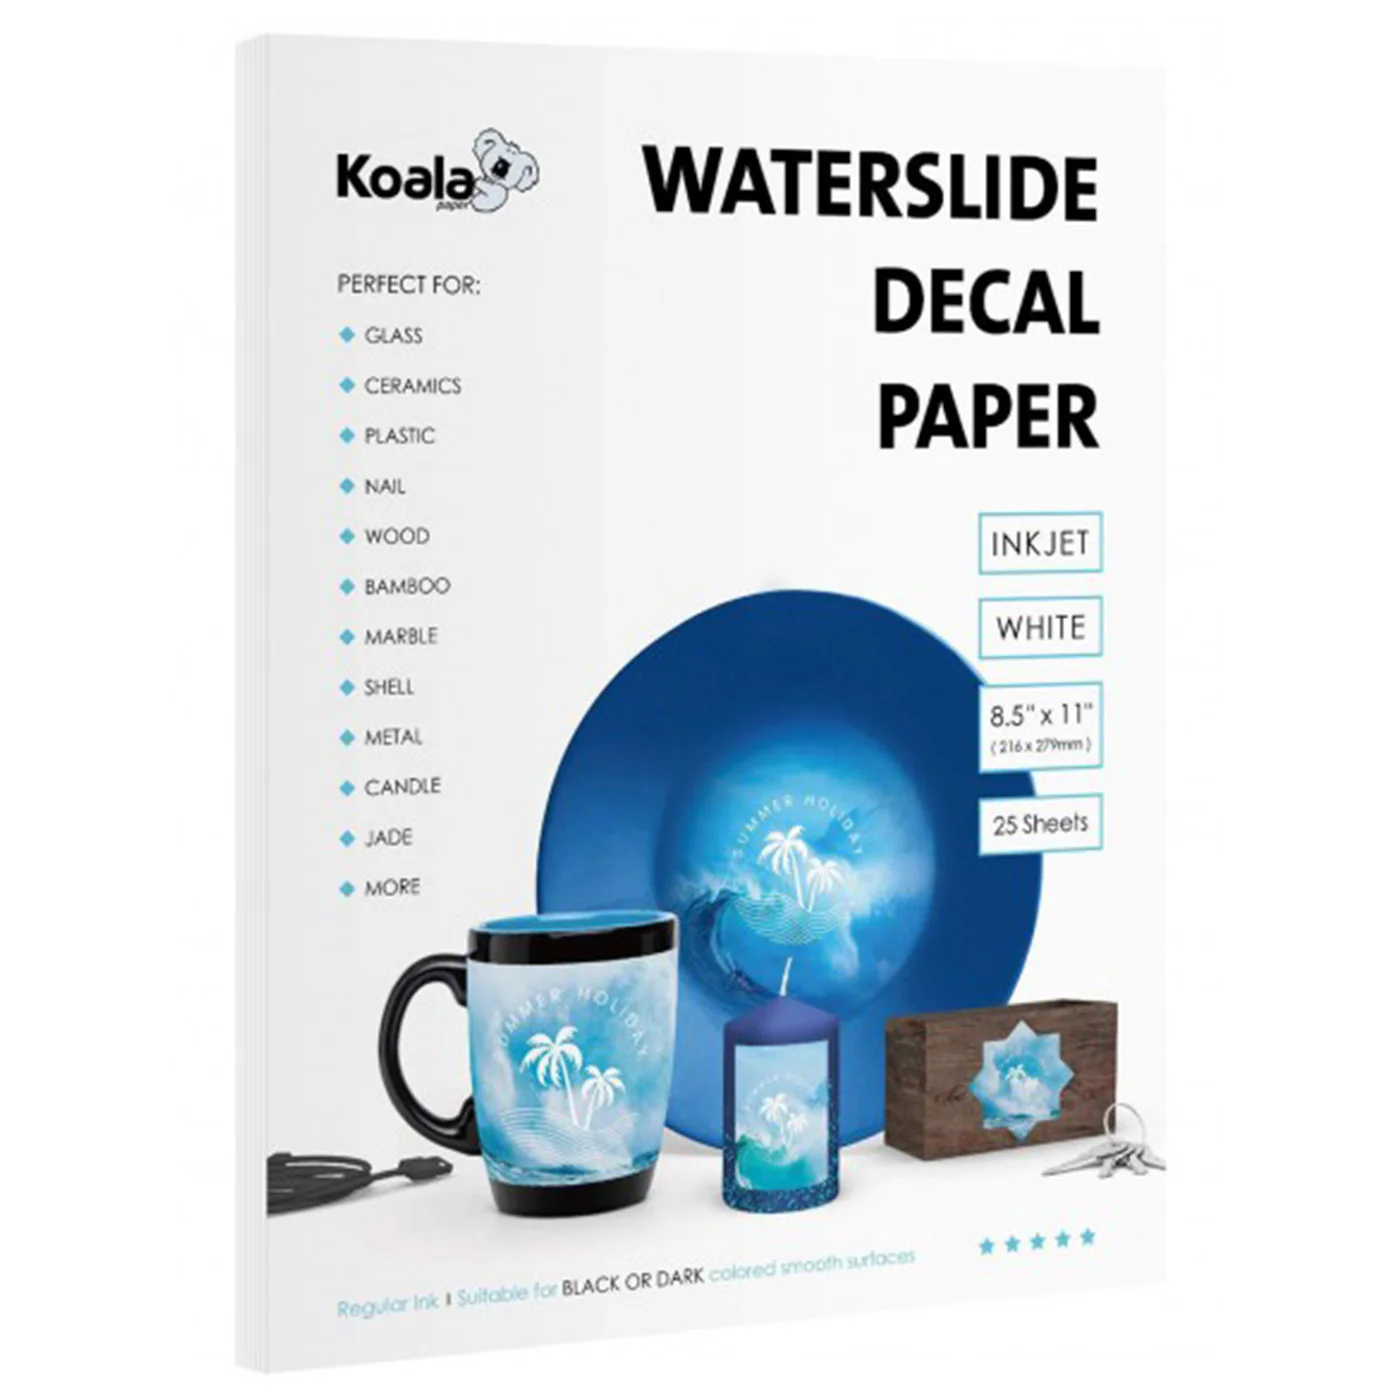
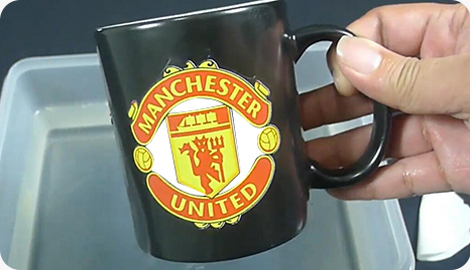
White Base Water Transfer Paper This paper has an opaque white coating applied beneath the printable surface. This white coating provides design flexibility for dark substrates, ensuring vibrant and realistic colors even on dark surfaces such as black mugs, dark ceramics, or lacquered wood.
However, the downside is that the white base paper is opaque. If applied to transparent glass, the white background will show through, which may not be suitable for designs requiring "invisible" edges. Nevertheless, for dark surfaces, Dark color waterslide decal paper is the only practical option.
Our Product Range at a Glance
| Model | Type | Printer | Spray Required? | Best For |
| PM-K1 | Clear | Inkjet | Yes | Light surfaces, glass, white ceramics |
| PM-K2 | White Base | Inkjet | Yes | Dark surfaces, black mugs |
| QM | Clear | Inkjet | No | Light surfaces – fastest workflow |
| PM-K7 | White Base | Inkjet/Laser/UV/Digital | No | Dark surfaces – any printer |
| ZG-B1 | Clear | Laser | Optional | Laser printers, light surfaces |
| ZG-B2 | White Base | Laser | Optional | Laser printers, dark surfaces |
Water Decals for Inkjet Printers vs. Water Decals for Laser Printers
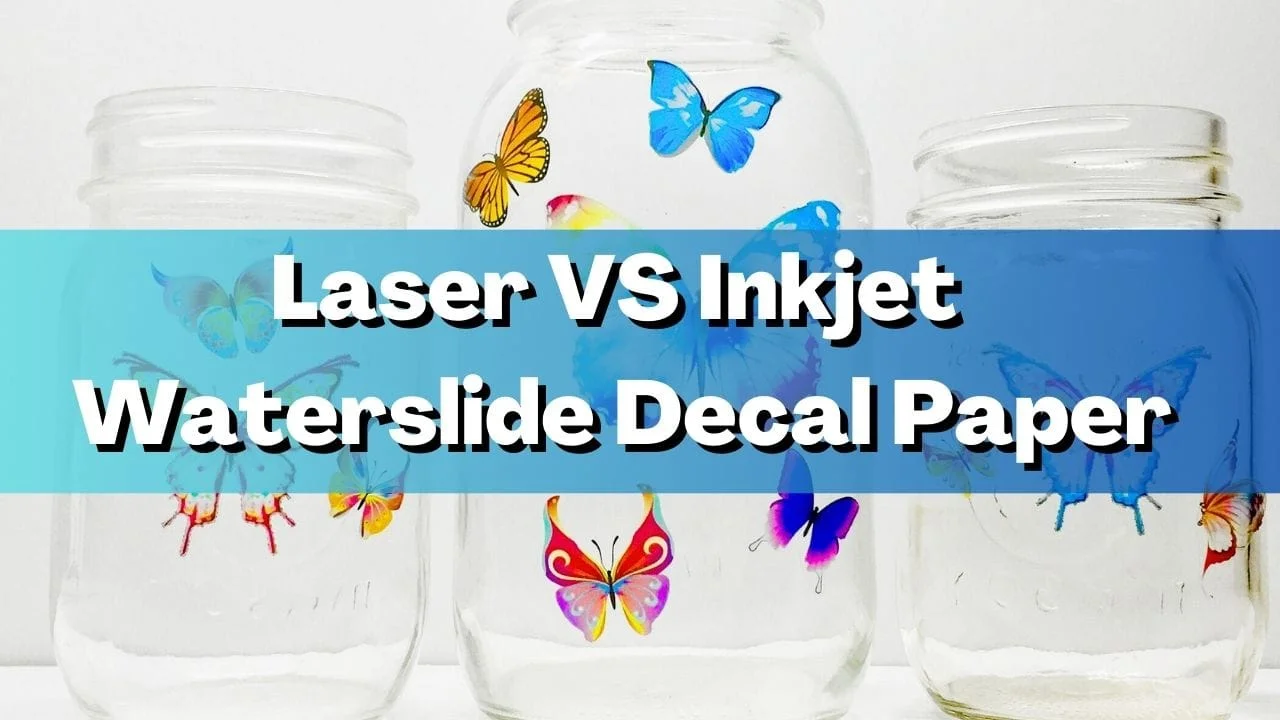
Different types of printers have their own advantages in water decal production.
Inkjet Printers

Compared to laser printers, inkjet printers offer superior color saturation and smoother gradients. Both dye-based and pigment-based inks penetrate the paper coating, producing vibrant, photo-realistic results. Epson EcoTank and Canon PIXMA series are popular choices among our customers.
The main drawback of inkjet printing is that most inkjet-printed water decals require a varnish coat after printing. The ink remains water-soluble until sealed. Without a varnish, the design will dissolve in water. Our QM and PM-K7 water decals do not require a clear coat.
Laser Printers
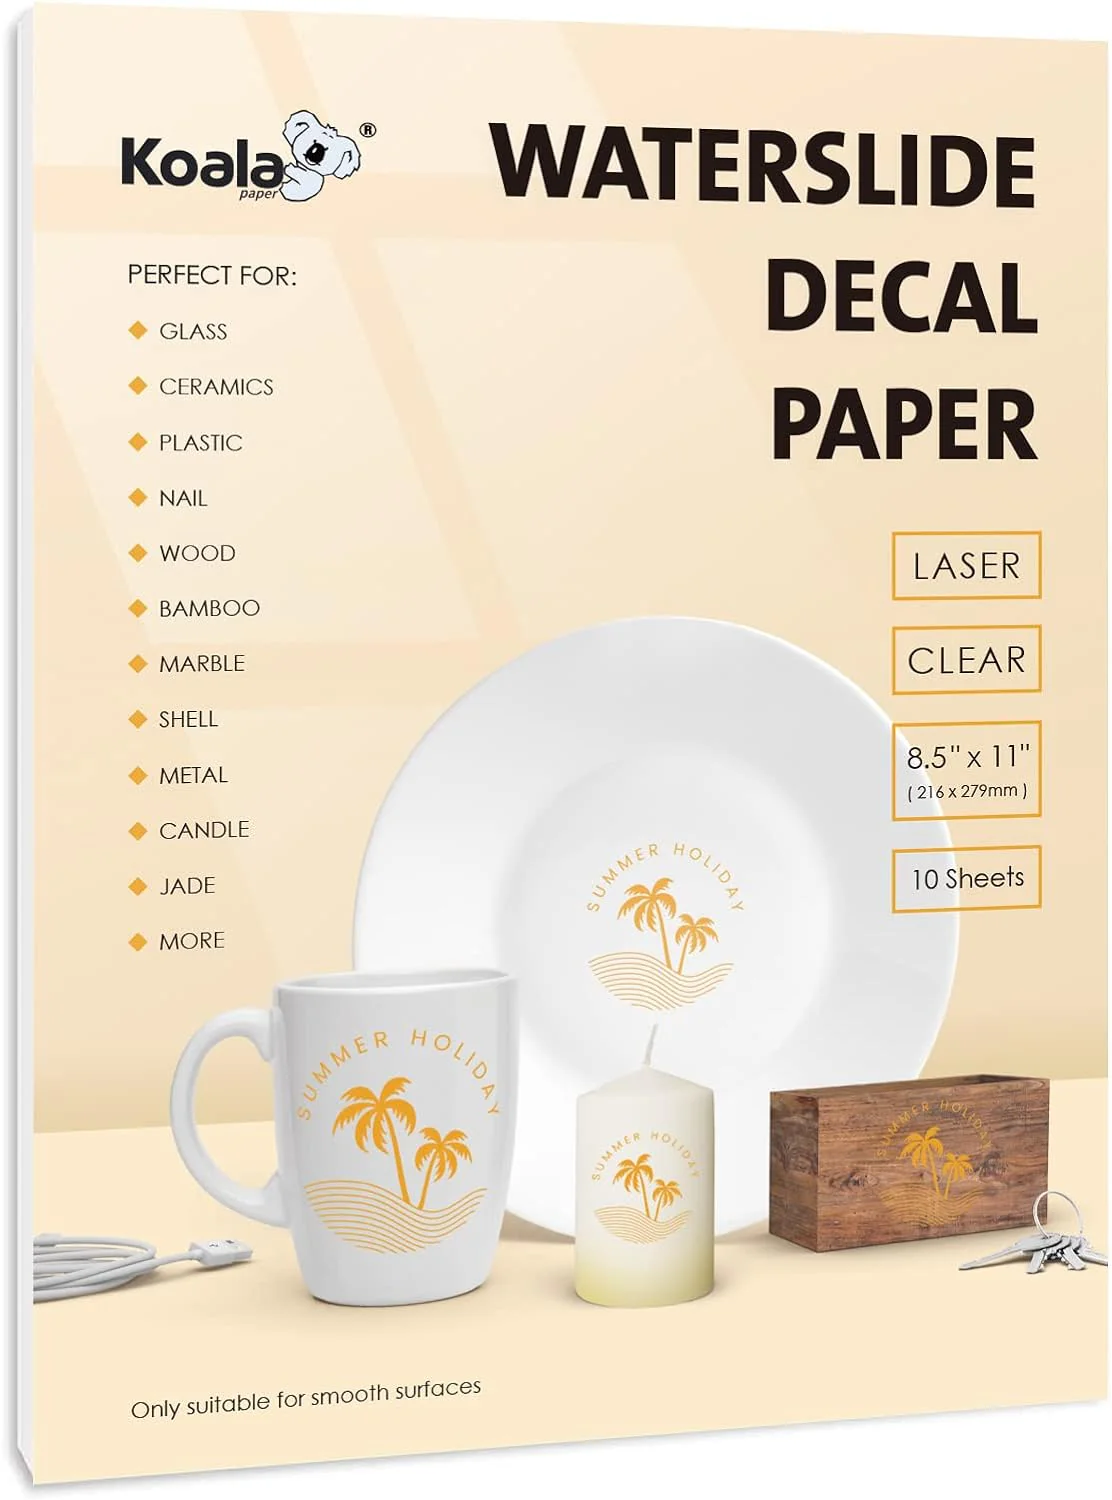
Laser printers use toner—a fine powder that is fused to paper by heating. Toner itself is waterproof, meaning laser-printed decals typically do not require a clear coat. This makes laser printing faster and cleaner, especially suitable for high-volume production.
However, laser printers cannot achieve the same color saturation as inkjet printers. Gradient effects often result in noticeable stripes, and the thicker toner layer leads to more pronounced edges after transfer. For designs with a lot of text and simple graphics, laser printing is perfectly adequate. But for image-quality requirements, inkjet printing remains superior.
Our Recommendations
If you need to create full-color photo designs, use an inkjet printer with our No-Spray Water Decals (QM or PM-K7). If you need to create logos with a lot of text or already own a laser printer, our Laser Printer Decals (ZG-B1 and ZG-B2) provide excellent print quality without the need for a transparent coating.
Step-by-Step Process: Standard Inkjet waterslide decal Paper (Spray Required)
This section describes the traditional method using water decal paper such as PM-K1 (transparent) and PM-K2 (white base). These water decals require a coat of varnish to seal the ink before soaking.
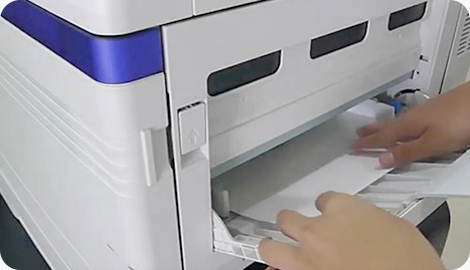
Step 1: Print Your Design
Printer settings significantly affect the final quality. Please follow these parameters for best results.
Mirror Printing
For transparent water decals (PM-K1, QM, ZG-B1), you must enable mirror or reverse printing in the printer driver. The design will appear reversed on the paper, but the orientation will be correct after transfer.
For white water decals (PM-K2, PM-K7, ZG-B2), mirror printing is optional. Since the white background is opaque, mirroring the design is unnecessary.
Printer Settings
| Setting | Recommended Value |
| Paper Type | Transparency Film or Photo Paper Glossy |
| Print Quality | High or Best |
| Colour Management | Printer manages colours (or ICM) |
| DPI | 1440 or higher for inkjet |
Paper Orientation
Please insert the paper with the coated side facing up. The coated side is usually the smoother, glossier side. If the paper is inserted incorrectly, the ink will not adhere properly, and the design will bleed.
Step 2: Seal the Ink with Clear Varnish
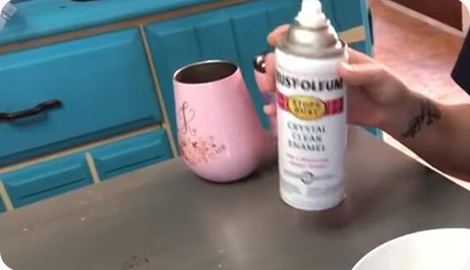
This is the most crucial step for regular inkjet water transfer paper. Without sealing, the ink will dissolve during soaking.
Required Materials
- Clear acrylic spray paint (gloss or matte)
- A well-ventilated area (ideally outdoors or in a fume hood)
- Protective gloves and a mask (optional, but recommended)
Spraying Instructions
- After printing, allow the paper to dry for 3-5 minutes.
- Hold the spray can about 20-30 cm (8-12 inches) away from the paper.
- Spray a thin, even coat over the entire paper surface. Do not apply too thickly.
- Let the first coat dry for 10-15 minutes, until it is no longer sticky.
- Spray a second thin coat vertically.
- Let it sit for 30-60 minutes before proceeding to the next step.
Common Mistakes
| Mistake | Consequence | Solution |
| Spraying too closely | Pooling, blotches, runs | Maintain 20–30 cm distance |
| Applying one heavy coat | Ink bleeding, paper wrinkling | Apply multiple thin coats instead |
| Skipping the drying time | Smudging, tacky surface | Wait 30–60 minutes before handling |
Alternative: Brush-on Sealer
If you prefer to avoid aerosol fumes, brush-on clear varnishes are available. Apply with a soft brush in thin, even strokes. Brush-on sealers require significantly more drying time – typically 2–4 hours.
Step 3: Cut the Design
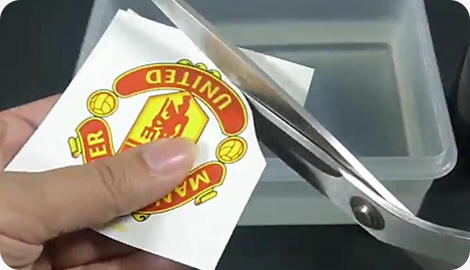
Cutting techniques affect the final look and durability of the sticker.
Cutting Techniques
- Leave a 2-3 mm margin around the design. A clear or white border helps prevent curling.
- For complex designs, use a craft knife and cutting mat.
- For simple shapes, scissors will suffice.
- For complex designs, we recommend using a Cricut or Silhouette cutter—both of which support waterslide decals.
Step 4: Soak the Sticker in Water
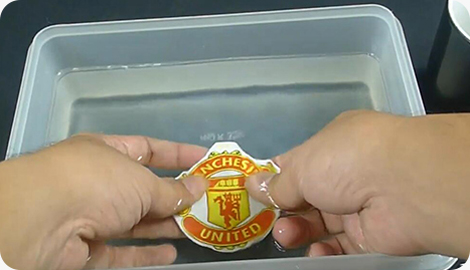
Soaking activates the water-soluble adhesive layer, allowing the sticker to slide off the backing paper.
Soaking Process
- Pour room temperature water (20-25°C / 68-77°F) into a shallow container.
- Completely immerse the cut sticker in the water.
- For our waterslide decals, soaking time is approximately 20-30 seconds. Do not exceed 45 seconds.
The sticker is properly soaked when it slides freely on the backing paper.
- Warning signs of over-soaking:
- The sticker will curl or fold uncontrollably.
- The adhesive layer will become noticeably sticky or mushy.
- The sticker will peel off the backing paper before it can slide.
If any of these occur, discard the sticker and start over. Over-soaked stickers are difficult to apply cleanly and neatly.
Step 5: Slide and Position the Sticker
This step requires patience and a steady hand. With practice, you will gradually develop muscle memory, allowing you to apply the sticker smoothly.
Applying to a Flat Surface
- Remove the sticker from the water and apply it, along with the backing paper, to the target surface.
- Gently slide the backing paper while pressing the sticker into place.
- Adjust the position of the sticker with a soft brush or your fingers before it dries.
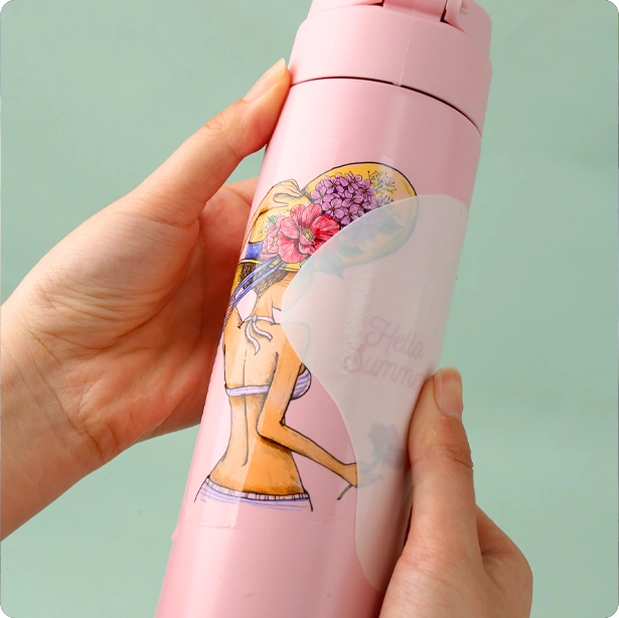
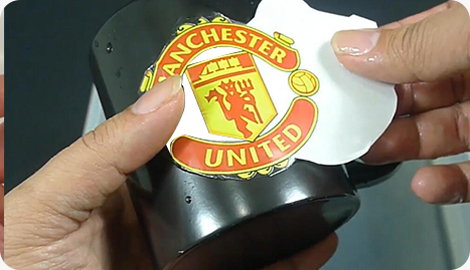
Applying to Curved Surfaces
- For curved surfaces such as mugs and glasses, the application method is slightly different:
- Apply the sticker (along with the backing paper) to the curved surface.
- Use a scraper to press from the center outwards, ensuring the sticker adheres tightly to the curved surface.
- Continue pressing while slowly sliding the backing paper.
- Gently press the sticker onto any depressions or curved surfaces with a scraper.
Step 6: Remove Water and Air Bubbles
Air bubbles under the sticker will affect the final result. Water droplets may leave white spots or "silver" marks.
- Smooth the sticker using a scraper, soft plastic card, or damp cloth.
- Starting from the center, scrape outwards in a straight line.
- Wipe away excess moisture with a paper towel or cotton swab.
- Continue until the sticker is completely smooth and free of visible air bubbles or wat
Step 7: Dry and Cure the Sticker
Drying and curing determine the final adhesion and durability of the sticker. Do not rush this step.
Air Dry
Place the decorated item in a clean, dust-free place. The sticker needs at least 3 hours to dry. For best results, wait 24 hours before using or washing the item.
- Baking for Enhanced Durability
- For ceramic, glass, and metal items, baking significantly improves adhesion and water resistance.
- Recommended parameters: 135°C (275°F) for 15 minutes.
- Alternative (lower temperature): Bake at 110°C (230°F) for 30 minutes.
Important: Place the item in the oven before it reaches the preset temperature, or allow it to cool slowly after baking. Sudden temperature changes may cause cracking.
Cooling After Baking
After baking, allow the item to cool naturally at room temperature. Never immerse it in cold water—this will cause thermal shock and may crack the sticker or substrate.
Detailed Instructions: No Spray Waterslide Decal Paper (QM and PM-K7)
Our factory's No Spray Waterslide Decal Paper eliminates the most time-consuming step in the traditional workflow. Here's how to use it:
- QM – Transparent No Spray Waterslide Decal Paper (Inkjet Printers Only)
- QM waterslide decals feature a built-in protective layer that seals the ink during immersion. No varnish required.
Simplified Workflow
- Print – Use mirror (reverse) mode. Printer settings are the same as for standard paper.
- Dry – Dry at room temperature for 2-3 minutes. No spraying required.
- Cut – Cut along the edges of the design, leaving a 2-3 mm margin.
- Immerse – Immerse in room temperature water for 20 seconds. Do not exceed 30 seconds.
- Apply – Apply to the target surface using the same method as in the standard workflow.
- Smooth Surface – Remove air bubbles and excess moisture with a scraper or soft brush.
Drying and baking – Same as standard procedure: Air dry for 3-24 hours, then bake at 135°C for 15 minutes.
Time savings: The spray-free workflow typically completes printing and soaking in just 10-15 minutes, while traditional spray methods take 45-60 minutes.
PM-K7 – Multi-functional No-Spray Water Decals(Inkjet, Laser, UV, Digital)

The PM-K7 water decals are our most versatile product. They work with almost all printing technologies and feature an opaque white base, performing excellently on both light and dark surfaces.
Key Differences
- No Mirror Printing Required – PM-K7 is opaque, so the design prints in the normal orientation.
- No Transparent Coating Required – The paper is self-adhesive.
- Compatible with Multiple Printers – The same decal can be used with inkjet, laser, UV, and digital printers.
Complete Workflow
- Print – Use the normal (non-mirror) mode. Use the same printer settings as with regular paper.
- Dry – Allow to dry for 2-3 minutes. Laser prints dry instantly.
- Cut – Cut along the edges of the design. The white base is visible, so be sure to cut precisely.
- Soak – Immerse in water for 20 seconds.
- Apply – Apply to the target surface. Because PM-K7 is opaque, it is ideal for dark substrates.
- Smooth out – Remove air bubbles and excess moisture.
- Dry and bake – same parameters: air dry first, then bake at 135°C for 15 minutes.
When to Choose the PM-K7
- You own both an inkjet and laser printer and want to use the same type of paper.
- You frequently print on dark surfaces (such as black mugs, dark ceramics).
- You want the fastest possible printing speed without sacrificing print quality.
Cleaning and Surface Preparation Guide
Surface cleanliness is crucial—any contamination will affect the firm adhesion of the water transfer paper. Different materials require different cleaning methods. This section provides specific cleaning procedures for each common substrate.
| Material | Cleaning Method | Substrate Compatibility | Why It Matters |
| Ceramics | Wash with mild detergent, rinse thoroughly, wipe with isopropyl alcohol | ✅ Excellent | Leaves a completely grease-free surface |
| Glass | Clean with glass cleaner or vinegar solution, rinse, wipe with isopropyl alcohol | ✅ Excellent | Removes fingerprints and smudges completely |
| Metal | Wipe with acetone or mineral spirits, then isopropyl alcohol | ✅ Excellent | Removes residual oils and oxidation |
| Plastic | Mild soap and water, then isopropyl alcohol (test a small area first) | ⚠️ Good – test adhesion first | Some plastics are too flexible or hydrophobic |
| Wood | Fine sanding (400 grit), wipe clean with tack cloth | ⚠️ Good – requires sealing | Painted or sealed wood only – bare wood is porous |
| Candles | No cleaning needed – apply directly to smooth wax | ❌ Not recommended | Wax melts and decals are for rigid surfaces only |
Important Notes:
Drying: After cleaning, ensure the surface is completely dry before applying the water decal paper.
Oily Surfaces: We do not recommend applying the stickers to oily surfaces, such as unsealed leather, waxed items, or greasy surfaces.
UV Exposure: All stickers should be cured according to the instructions. However, unless the surface has been coated with a UV-resistant varnish, we recommend avoiding prolonged exposure of standard water transfer stickers to UV light.
Final Recommendations
Based on years of customer feedback from our factory, here are my best recommendations for different user groups.
Beginners: Start Simple
Purchase our QM Water Decals (no spraying required) sample pack. Practice on white mugs or glass tiles. The streamlined workflow avoids the most common failure point (spraying). Master the techniques for gluing and removing air bubbles before scaling up production.
Small Businesses: Focus on Batch Consistency
Once the workflow is established, document each step: printer settings, spray distance and quantity (if using standard paper), soaking time, and baking parameters. Consistency is the foundation of customer satisfaction.
High-Volume Production: Invest in No Spraying + PM-K7 Water Decals
Eliminating the spraying step saves significant time. For monthly production exceeding 10,000 pieces, this can save up to 40+ man-hours. PM-K7 Water Decals also simplify inventory management—one type of paper works for all your printers.
Why do my printed colours look washed out?
This is normal. Colours appear brighter after transfer and curing.
Do I really need a heat press for baking?
No. A regular kitchen oven is fine for small-scale production.
Can I print on both sides of the waterslide decal paper sheets ?
No. Only the coated side is printable.
How long do waterslide decals last?
Indoors: years. Outdoors with UV coating: 1–3 years.