When our customer first heard about sublimation printing, he tried a very wrong approach.
He thought, "Isn't this just premium heat transfer paper? It's the same thing, just better marketed."
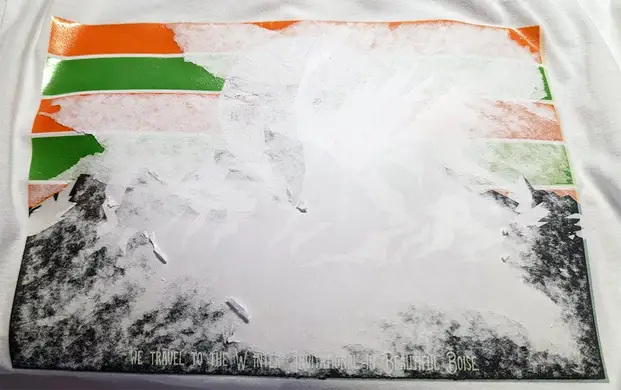
So he bought a roll of sublimation paper, loaded it into his ordinary HP printer, printed a design, and then transferred it onto a cotton T-shirt.
The result? The design was blurry, like a pathetic shadow, and it all came off after one wash.This mistake cost him $60 worth of paper and a damaged printer. But it also gave him a real understanding of how to properly use dye sublimation paper.
In this guide, our factory will walk you through the principles of dye sublimation paper, how to use it, its applications, and the equipment needed to get started. No fluff, just the hard-earned lessons from hundreds of prints, countless ruined T-shirts, and finally, consistent results from a real sublimation factory.
What Is Sublimation Paper Sheets?
Sublimation paper is a specially coated sheet designed to absorb sublimation ink and sublimate it out as a gas when heated. Unlike t-shirt transfer paper, it cannot be used with standard inkjet printers or ordinary water-based inks.
You can think of sublimation paper sheet as a temporary carrier. Its functions are:
- To fix liquid sublimation ink after printing.
- To release the ink evenly when heated and pressurized.
- To convert the ink into a gas and bond it with a polyester or polymer coating.
Once the transfer is complete, the pattern on the paper has been transferred to the substrate. The pattern is now located inside the material, not on the surface.
Here’s a quick comparison to help you place it:
| Sublimation Paper | Regular Transfer Paper | |
| Ink type | Sublimation ink only | Standard inkjet ink |
| Printer needed | Dedicated or converted | Any inkjet printer |
| Transfer result | No feel, permanent | Plastic film on top |
| Works on cotton? | No (needs polyester) | Yes |
What is the process of sublimation paper printing?
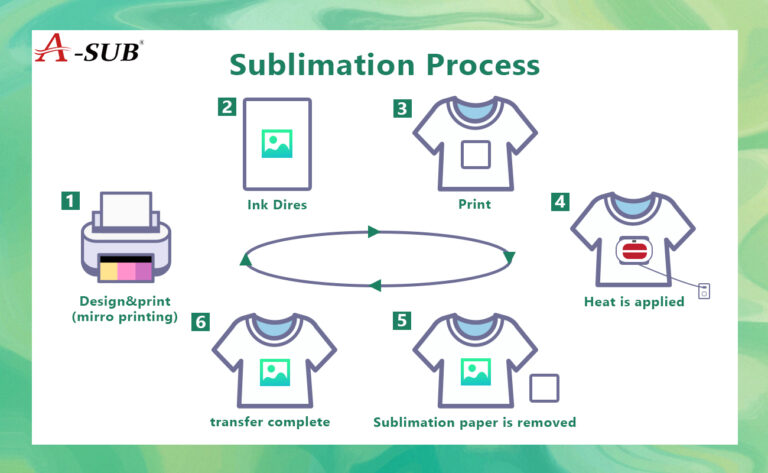
Let our factory explain it to you in the simplest terms.
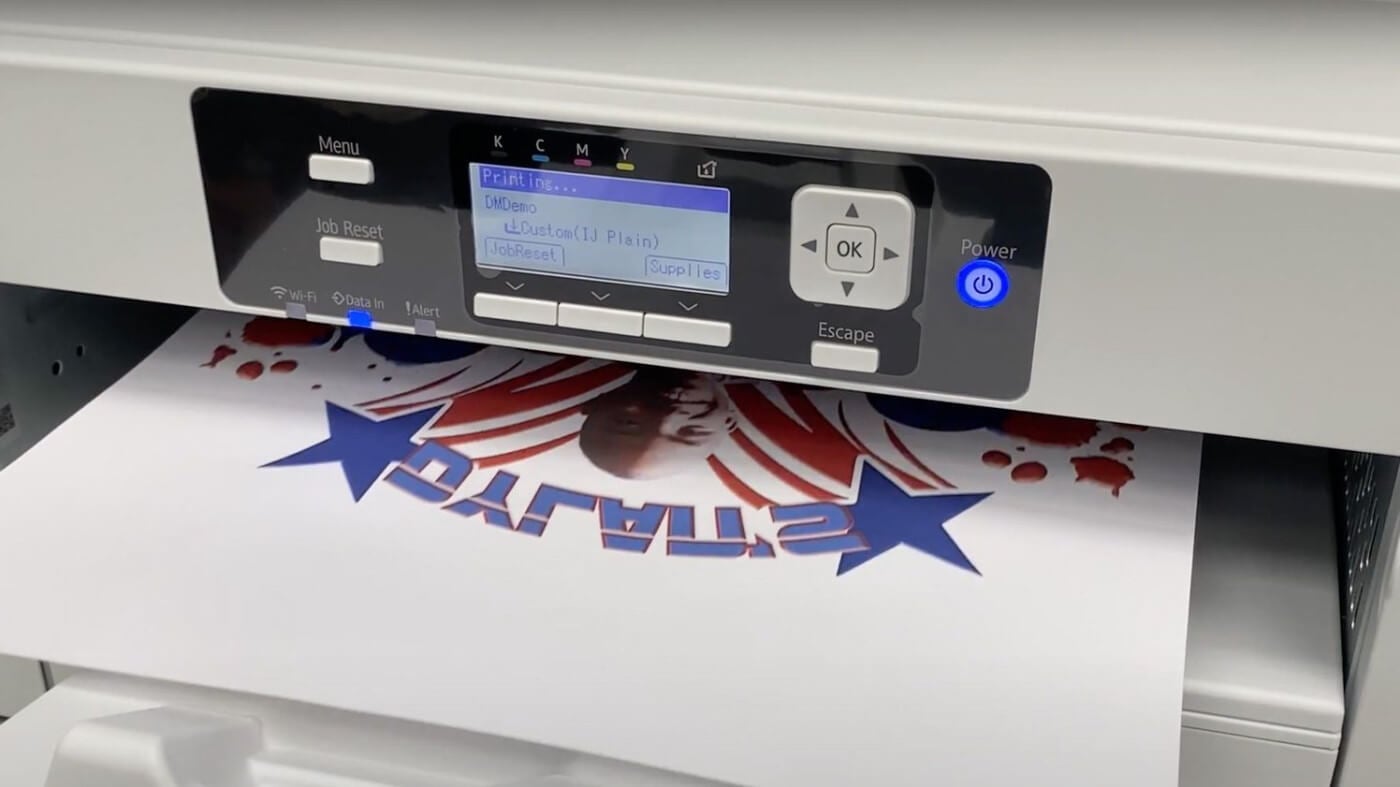
Step 1: Printing on Sublimation Paper for T-Shirts
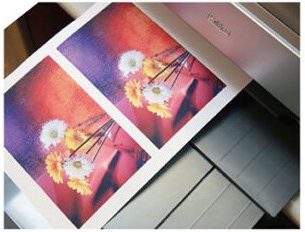
You design your design on your computer. Then, use a sublimation printer filled with sublimation ink (instead of regular ink) to print it. The ink adheres to a special coating on the paper. At this point, the printed design looks normal—even the colors might be a little muted.
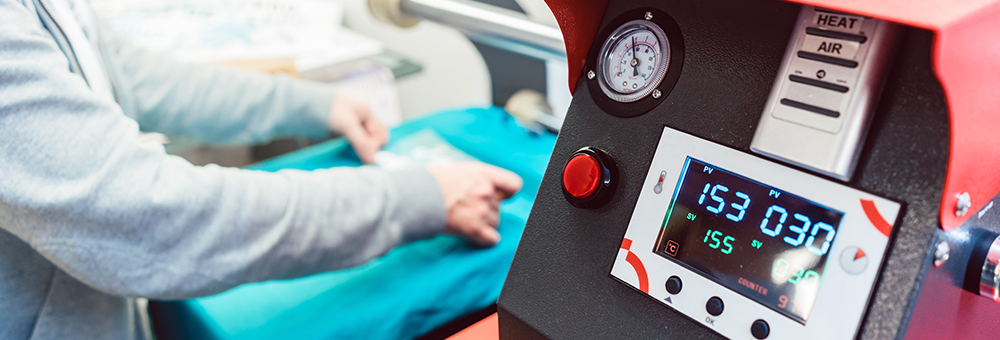
Step 2: Placing the Paper on a Substrate
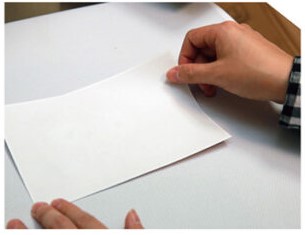
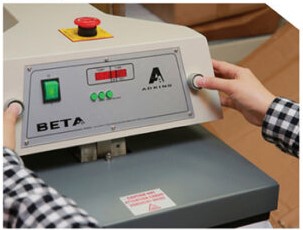
Place the sublimation paper face down on a polyester T-shirt, coated mug, or aluminum plate. Then, use a heat press to heat (typically 380–400°F) and apply pressure.
Step 3: The Magic Moment—Sublimation
At high temperatures, the solid ink completely skips the liquid stage and transforms directly into a gaseous state. This is called sublimation (hence the name). The gas rises from the paper surface and permeates the surface of the polyester fibers or polymer coating.
Step 4: Permanent Bonding of Gases

After heating stops, the gas cools and re-solidifies—solidifying within the material. It becomes part of the fibers, not just a surface layer.
Touch the finished product with your fingers. You can't feel any edges, films, or texture differences.
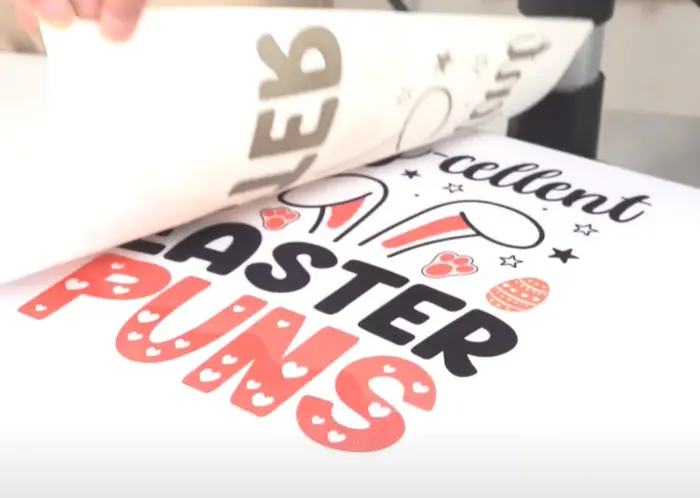
I still remember the first time I successfully completed this process. I embossed the design onto a white polyester shirt, tore off the paper, and exclaimed involuntarily, "Wow, fantastic!" The colors were vibrant, and the edges were completely invisible. And after 20 washes? Still like new.
What Can You Use Sublimation Paper For?

Based on what I’ve actually made (and sold):
✅ Best uses (works every time)
| Product | Material requirement | My experience |
| Polyester T-shirts | ≥65% polyester | Best results. My main product. |
| Sportswear (jerseys, shorts) | 100% polyester | Perfect. No cracking after washing. |
| Ceramic mugs | With polymer coating | Works great. Needs mug press. |
| Metal photo panels | Coated aluminum | Stunning quality. High margin product. |
| Mouse pads | Polyester surface | Easy. Good for samples. |
| Puzzles | Coated | Works well. Popular for gifts.
|
⚠️ Tricky but possible
| Product | Issue | Workaround |
| Cotton shirts | No polyester = no bond | Use 50/50 poly-cotton blend (faded result) or buy expensive coated cotton |
| Dark fabrics | Sublimation ink is translucent | Not recommended. Use regular transfer paper instead. |
| 100% cotton tote bags | Same issue as cotton | Skip sublimation. Use vinyl or screen printing. |
❌ Does NOT work
- 100% Cotton Fabric (unless specially coated – which, in my opinion, is both expensive and not worthwhile)
- Dark Polyester (the ink won't show up clearly due to its dark color)
- Nylon, Wool, Leather (cannot bond without polyester)
- Uncoated Rigid Substrate
A little tip: Our clients have learned this the hard way: even if a shirt label says "polyester," it doesn't mean it's suitable for Dye Sublimation Printing. Some cheap polyester T-shirts have very low melting points. The pattern transfer might seem fine, but T-shirts are prone to shrinkage/deformation after washing. Therefore, always test one or two shirts before mass printing.
What equipment do you actually need?
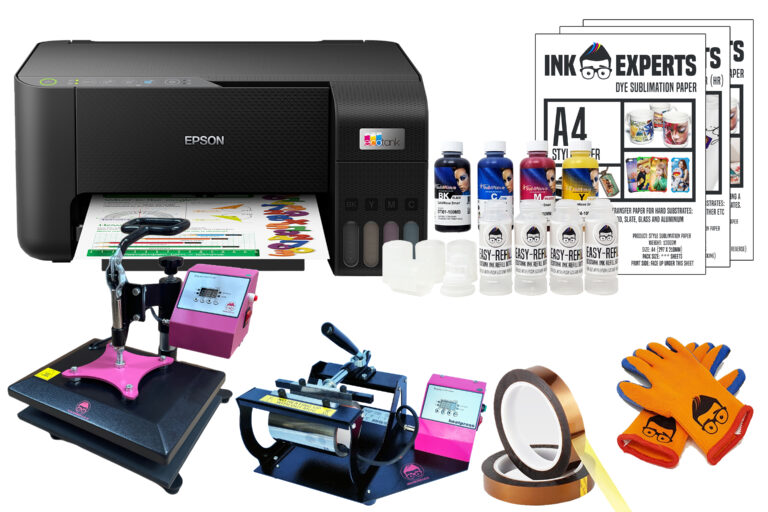
You don't need to spend $10,000 on a single set of equipment. Our sublimation paper factory offers recommended configurations for different budget levels.
Minimum configuration (basic model, approximately $400-$500)
| Item | Estimated cost | Notes |
| Converted Epson EcoTank (ET-2720) | $250–300 | Buy new or refurbished |
| Sublimation ink (bottles) | $30–40 | Enough for 50–100 sheets |
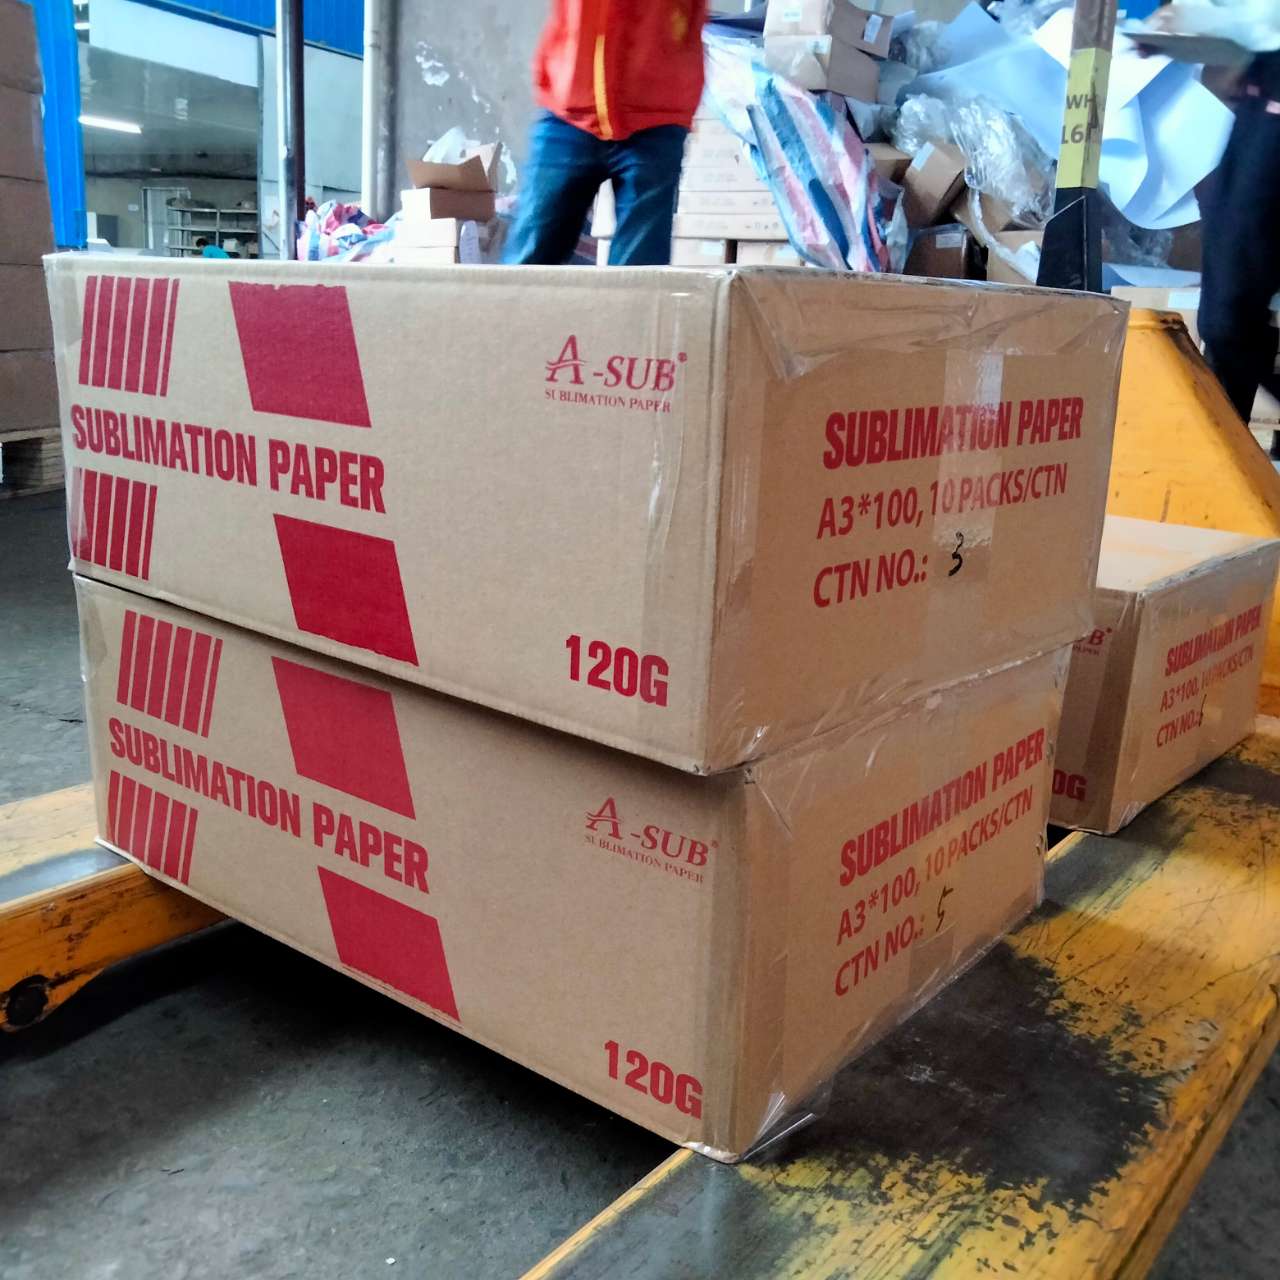
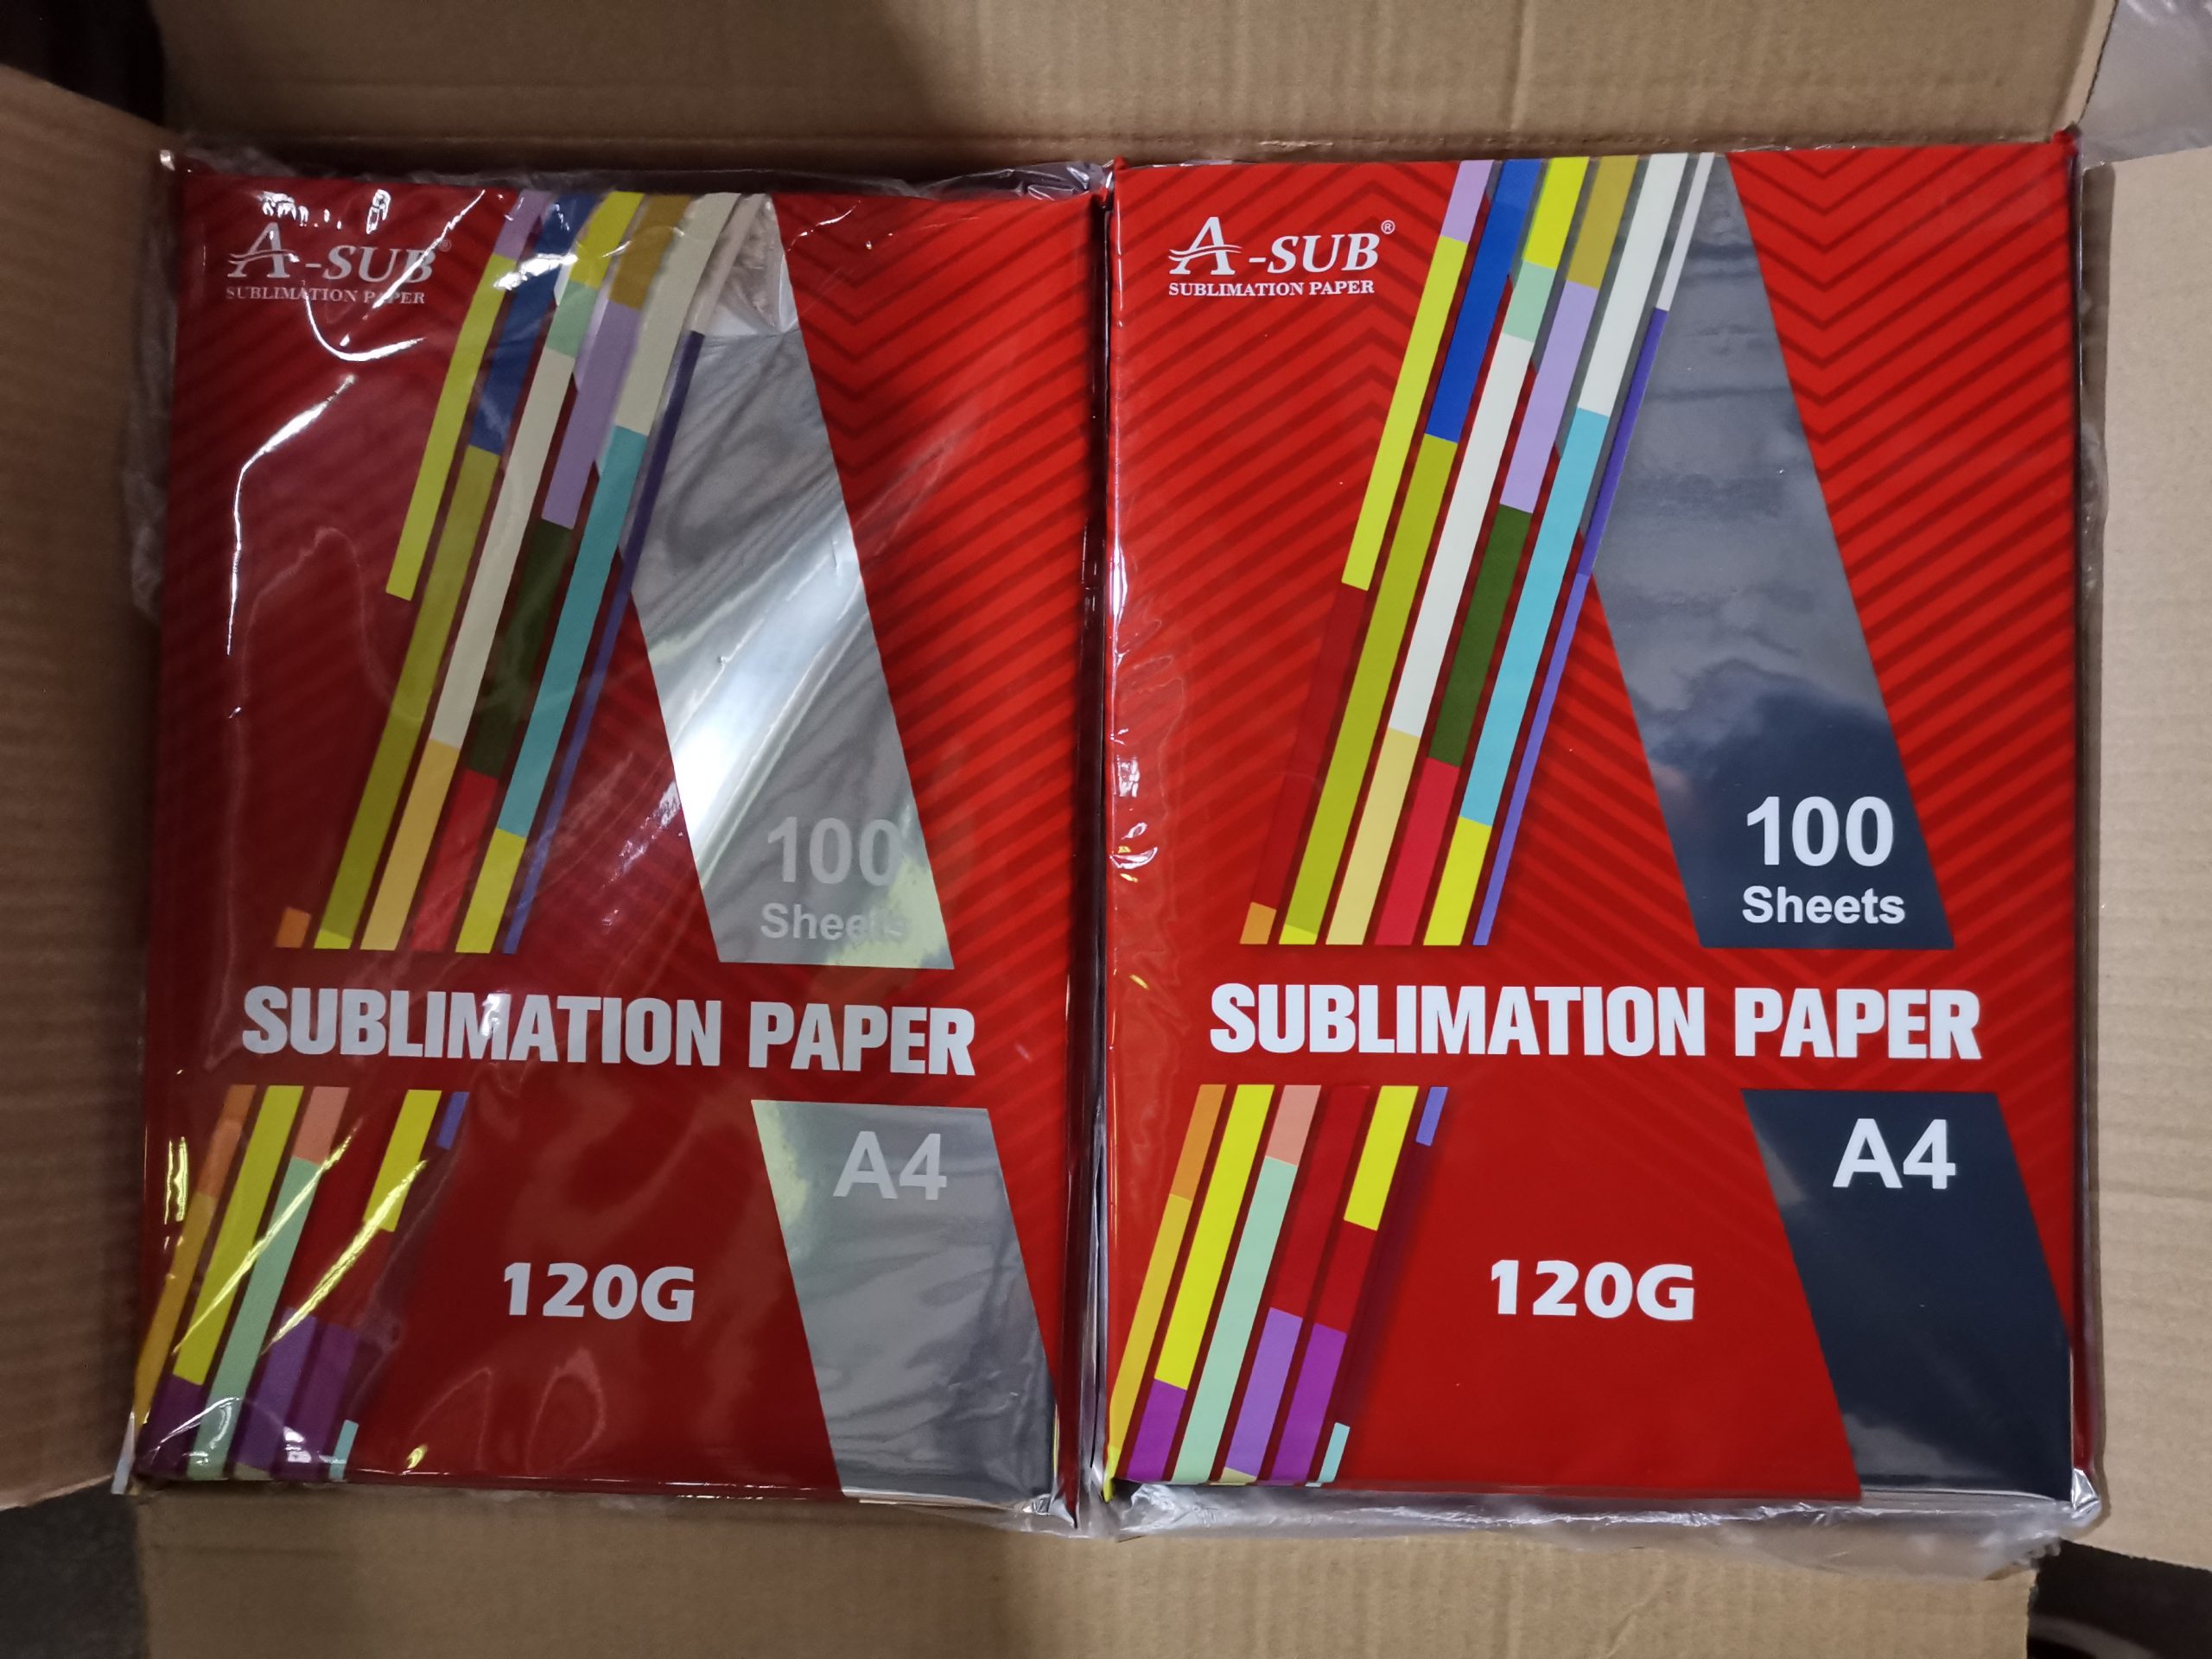
| Sublimation paper (50 sheets) | $15–25 | A-SUB or Koala to start |
| Heat press (8-in-1, 15×15″) | $150–200 | Cheap but works for learning |
| Total | $450–550 |
What I recommend for beginners (the “no regrets” setup)
| Item | Estimated cost | Why |
| Epson EcoTank ET-2800 (converted) | $350 | Reliable, good community support |
| Hiipoo or A-SUB ink | $40 | Good balance of cost and quality |
| A-SUB sublimation paper (100 sheets) | $25 | Consistent. I still use this. |
| 15×15″ clam-shell heat press | $300–400 | Much better than cheap swing-away |
| Total | $715–815 |
Things You Don’t Need (Avoid These Mistakes)
- ❌ As a beginner, don't buy a Sawgrass printer (not cost-effective).
- ❌ Don't buy a "dye-sublimation" branded printer from Amazon (usually just a modified Epson printer, and more expensive).
- ❌ Never buy a tumbler/mug heat press machine first (start with a flatbed heat press).
- ❌ Don't buy expensive paper like TexPrint until you've mastered basic printing skills.
Sublimation Paper vs Other Transfer Methods
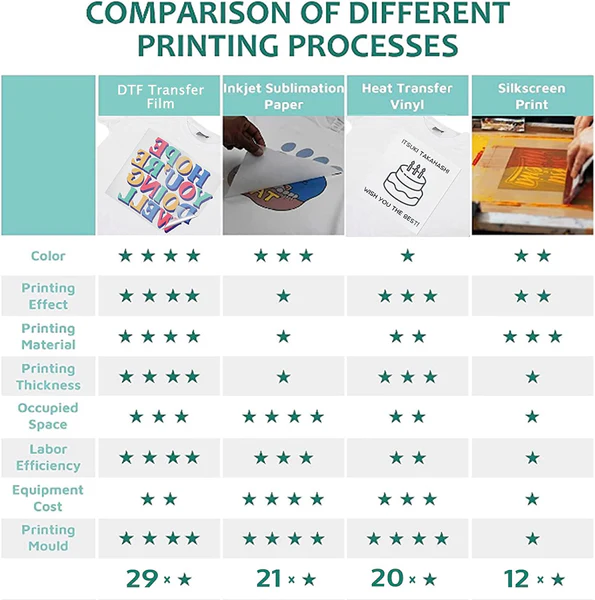
This comes up a lot. Here’s the simple version:
| Method | Best for | Durability | Feel | Cost per print |
| Sublimation paper | Polyester, mugs, metal | Excellent (100+ washes) | No feel | $0.60–1.00 |
| Regular transfer paper | Cotton, dark fabrics, one-offs | Fair (10–30 washes) | Plastic feel | $0.20–0.50 |
| Vinyl (HTV) | Small designs, team logos | Good (50+ washes) | Thick rubber feel | $0.50–2.00 |
| Screen printing | Bulk orders (50+ shirts) | Excellent | Thin ink feel | Low at volume |
The factory’s rules of thumb for beginners:
- Selling a single item? Sublimation printing (polyester fabric) or heat transfer printing (cotton fabric)
- Selling 50 or more items? Screen printing
- Making one for yourself? Regular transfer paper is sufficient
- Making a gift that needs to be preserved for a long time? Sublimation paper
Common Mistakes Customers Make (Hopefully, This Will Be a Good Reference)
Mistake 1: Using Plain Paper in a Sublimation Printer
I made this mistake. Plain paper doesn't allow the sublimation ink to fully dissipate. This results in blurry images, incomplete transfers, and wasted ink.
Mistake 2: Using Sublimation Paper in a Plain Printer
This is even worse. The sublimation ink dries inside the printhead of a plain printer. After three months, I had to replace a $120 printer. Never do this.
Mistake 3: Using the Wrong Heating Temperature
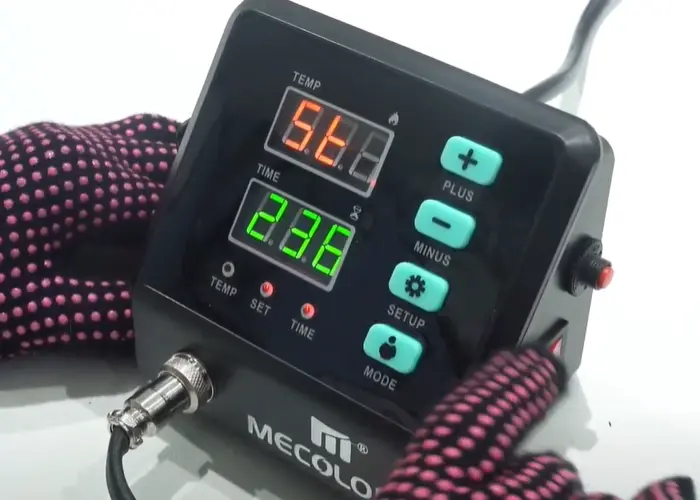
I used 320°F (about 160°C) for my first few prints because I was in a hurry. The ink didn't fully vaporize, and the image looked blurry. The correct temperature is 380-400°F (about 290-204°C). Please wait patiently for the heat press to reach the preset temperature.
Mistake 4: Using Insufficient Pressure
Insufficient pressure will result in incomplete transfers. You will see some faded spots, especially near the edges of the paper. Please apply even pressure. Your heat press should feel difficult to close.
Mistake 5: Tearing Paper While Hot
The heat-pressed sublimation paper was torn off immediately. The pattern looks good, but some ink wasn't completely dry. After two washes, some areas showed uneven fading. Wait 10-15 seconds after heat pressing, then let it cool before tearing.
Mistake 6: Bulk Purchasing Without Testing
A customer once bought a large package of cheap brand-name paper found online. It was incompatible with their sublimation printer, ultimately rendering the paper unusable.
Final Conclusion
Sublimation Paper Sheet isn't magic; it requires specific conditions: sublimation ink, a compatible printer, a heat press, and polyester or coated materials.
However, once you master the correct usage, its results far surpass other transfer methods. It's comfortable to the touch, won't crack, and won't peel. Even after dozens of washes, the colors remain vibrant.
Is it for everyone? Not really. If you're only transferring on pure cotton fabrics, regular heat transfer paper or DTF film is recommended. If you're primarily printing on dark fabrics, sublimation technology performs poorly.
But if you're printing on polyester, mugs, metallics, or sportswear, sublimation paper is the best choice.
My advice: Buy a small sample pack. Test it with your own printer (or a borrowed one). Iron a T-shirt. See for yourself. This is the only way to determine if it's right for you.