Introduction
Learn how to use heat transfer vinyl with Cricut—from designing and mirroring your artwork to cutting, weeding, pressing, peeling, and washing. Includes beginner tips, troubleshooting, and real-world PU vs. PVC HTV durability testing.
If you want to make custom T-shirts, personalized gifts, team apparel, or branded clothing, learning how to use HTV with Cricut is one of the easiest ways to get started with custom apparel.
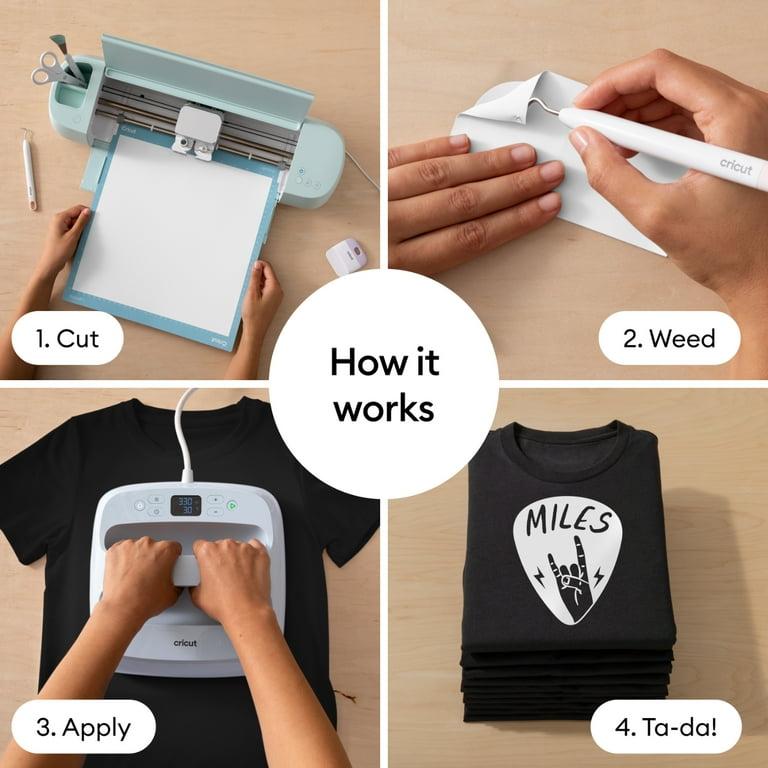
Heat transfer vinyl (HTV), also called iron-on vinyl, allows you to cut a design with a Cricut machine and transfer it onto fabric using heat and pressure.
The process looks simple:
Design → Mirror → Cut → Weed → Position → Press → Peel → Care
But small mistakes can make a big difference.
For example, forgetting to mirror your design can make text appear backward. Loading HTV on the cutting mat incorrectly can damage the material. Using the wrong heat or pressure can result in poor adhesion. And peeling the carrier sheet at the wrong temperature can cause parts of the design to lift.
This guide explains how to use heat transfer vinyl with Cricut step by step, including how to identify the correct side of HTV, how to choose cutting and pressing settings, how to avoid common mistakes, and how different HTV materials perform in real-world applications.
Quick answer: To use HTV with a Cricut, create your design in Cricut Design Space, mirror the design before cutting, place standard HTV carrier-side down on the cutting mat, cut and weed the design, position it on your garment, apply the manufacturer’s recommended heat and pressure, and peel the carrier according to the specified peel method.
Important: HTV application settings are not universal. Temperature, time, and pressure can vary depending on the HTV, fabric, and heat press. Always follow the instructions for your specific HTV and use the Cricut Heat Guide when applicable.
What Is HTV?
HTV stands for Heat Transfer Vinyl.
Unlike adhesive vinyl, which uses a pressure-sensitive adhesive and is commonly applied to hard surfaces, HTV is designed to be transferred onto textiles using heat and pressure.
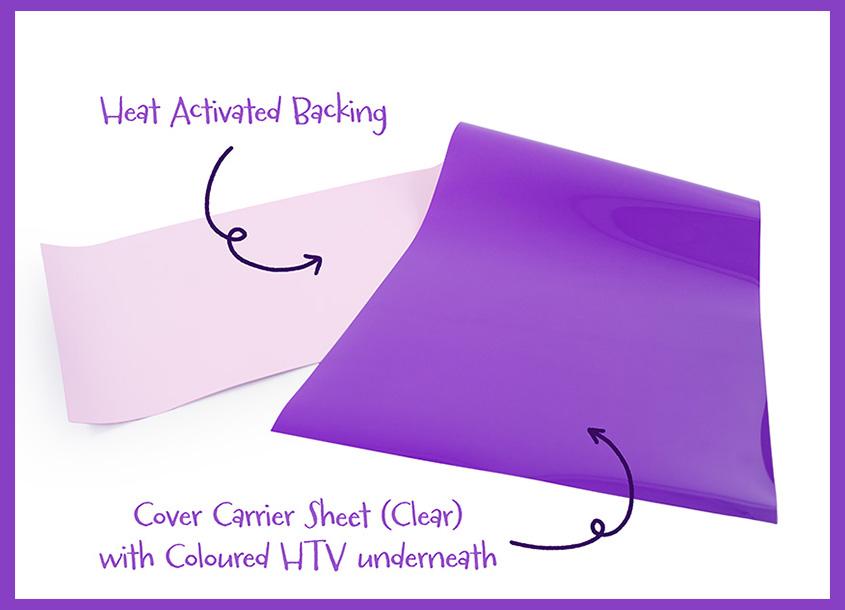
HTV typically consists of:
· A vinyl film
· A heat-activated adhesive layer
· A clear carrier or liner sheet
The Cricut machine cuts the vinyl layer according to your design while the carrier keeps the design together. After weeding, the HTV is positioned on the garment and transferred using a heat press or another suitable heat source.
HTV can be used for many types of apparel projects, including:
· T-shirts
· Hoodies
· Tote bags
· Sportswear
· Children’s clothing
· Uniforms
· Personalized gifts
· Custom apparel
· Small-business merchandise
For beginners, standard PU HTV is often a practical starting point because it is thin, flexible, and relatively easy to cut and weed.
What You Need to Use HTV with Cricut
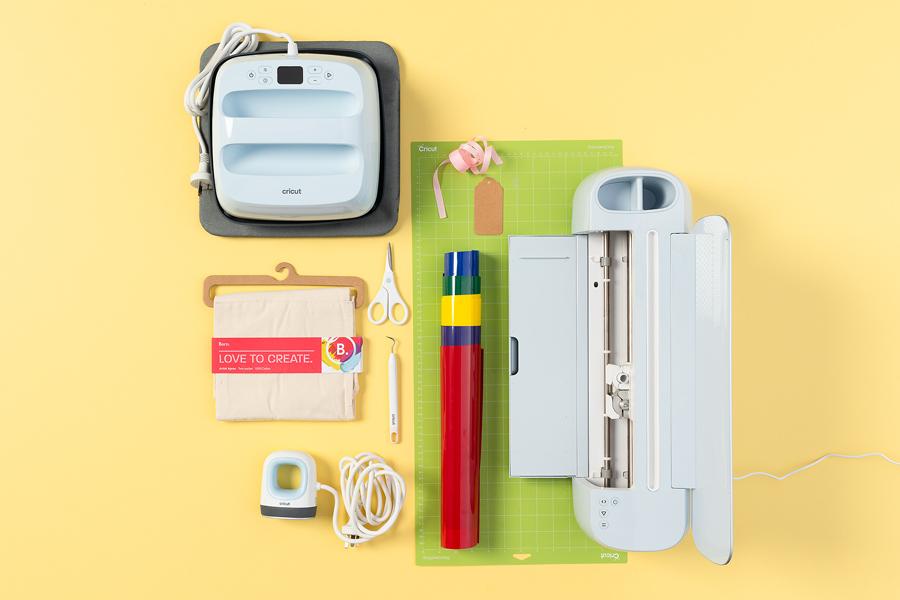
Before opening Cricut Design Space, prepare the following equipment.
| Equipment | Purpose |
| Cricut cutting machine | Cuts your HTV design |
| StandardGrip cutting mat | Holds the HTV during cutting |
| Heat transfer vinyl | Creates the garment design |
| Weeding tool | Removes unwanted vinyl |
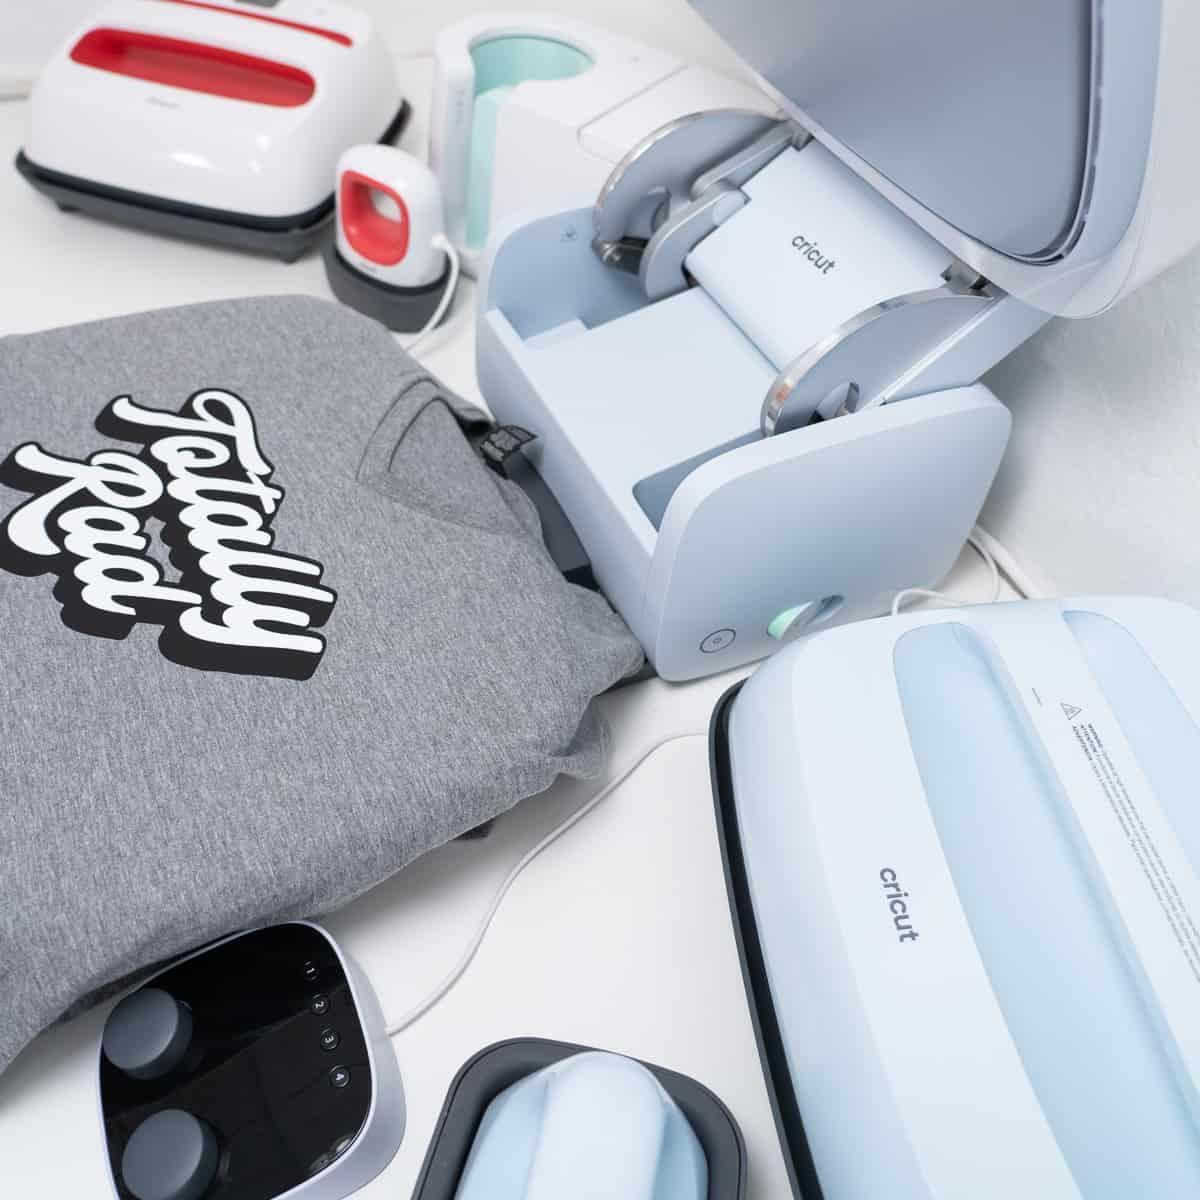
| Heat press or Cricut EasyPress | Applies heat and pressure |
| Parchment paper or protective sheet | Protects the transfer when required |
| Lint roller | Removes dust and fibers from the garment |
Which Cricut machine can cut HTV?
Cricut cutting machines are designed to work with compatible iron-on/HTV materials. The exact cutting setting depends on the HTV product and machine.
If you are using a new HTV product for the first time, perform a small test cut before cutting the complete design.
How to Use HTV with Cricut: Step-by-Step
Step 1: Create or Upload Your Design
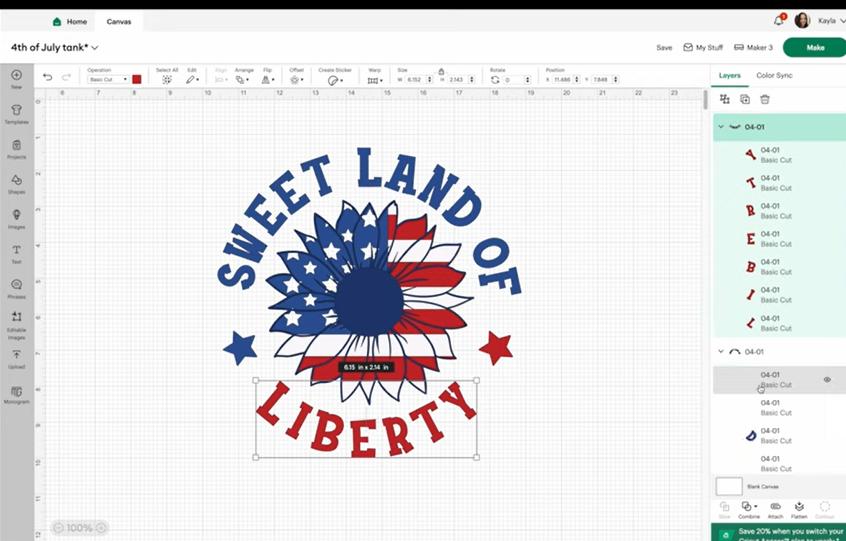
Open Cricut Design Space and create a new project.
You can:
- Create text directly in Design Space
- Upload your own artwork
- Use compatible SVG files
- Use designs from Cricut’s design library
- Combine text, shapes, and graphics
Keep your first design simple
If you are new to HTV, avoid extremely thin lines, tiny text, and very complicated details.
Small details can be difficult to cut and weed, especially with thicker specialty HTV such as glitter or flocked vinyl.
How large should an HTV design be?
The ideal size depends on the garment and placement.
As a starting point, many adult T-shirt designs are approximately:
- Center chest:10–11 inches wide
- Left chest:3–4 inches wide
These are only general starting points. Always measure the garment before cutting your final design.
Step 2: Mirror Your Design Before Cutting
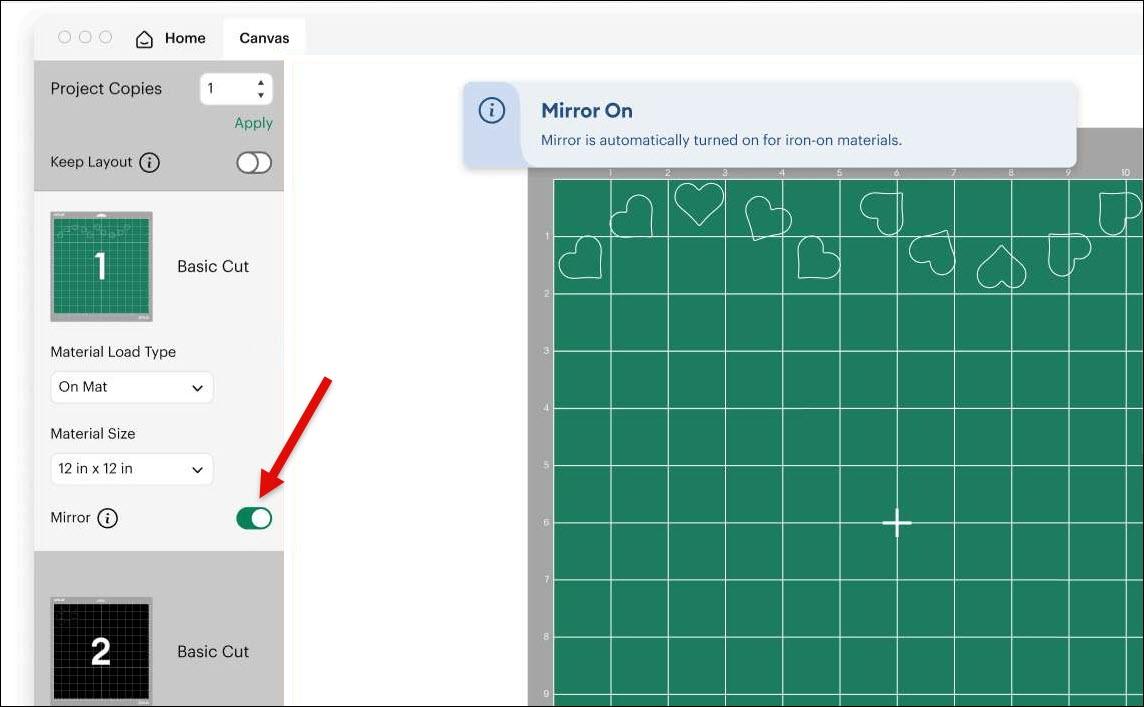
Do you have to mirror HTV?
Yes. Standard HTV designs should normally be mirrored before cutting.
This is one of the most important rules when using heat transfer vinyl with Cricut.
HTV is cut with the carrier side facing down and later transferred onto the garment. If you cut a design without mirroring it, text and directional graphics may appear backward after application.
How to mirror HTV in Cricut Design Space
- Click Make It.
- Open the mat preview.
- Turn on Mirror.
- Check the preview carefully.
- Make sure the design appears reversed before cutting.
For multi-color designs, check every applicable mat before cutting.
Beginner tip
If your design contains text, always check the mirrored preview before pressing Go.
A few seconds of checking can prevent an entire sheet of HTV from being wasted.
Step 3: Place HTV on the Cricut Cutting Mat
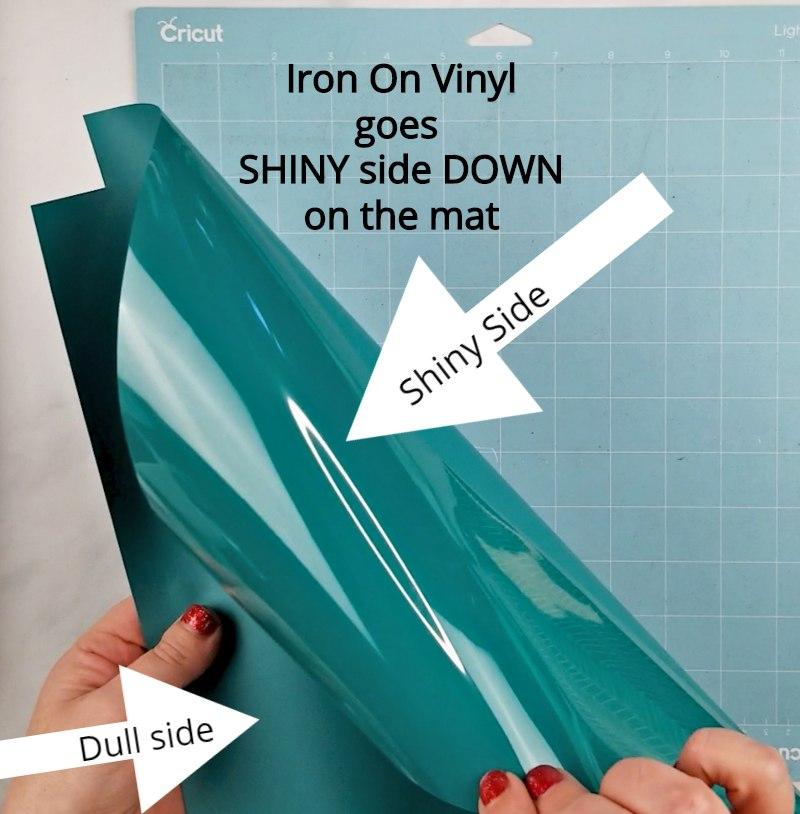
For standard HTV, place the material with the:
Shiny carrier side DOWN
and the:
Vinyl side UP
on the cutting mat.
The Cricut blade should cut through the vinyl layer without cutting completely through the carrier sheet.
How do you identify the carrier side?
The carrier side is usually:
- Smooth
- Clear or translucent
- More reflective
- Slick to the touch
The vinyl side generally has more surface texture.
If you are unsure, check the product manufacturer’s instructions before cutting.
Why does the direction matter?
If HTV is loaded incorrectly, the blade may cut through the carrier instead of cutting only the vinyl layer.
That can make the material difficult or impossible to weed properly.
Step 4: Select the Correct Cricut Cut Setting
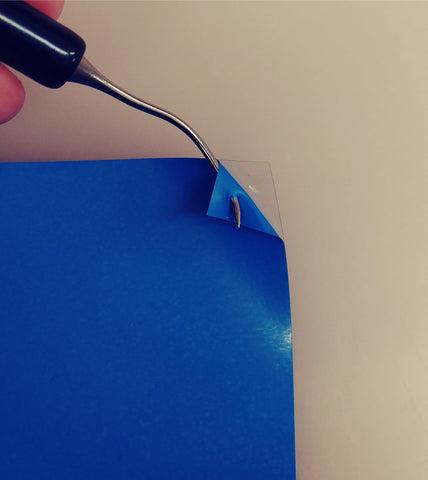
In Cricut Design Space, select the material setting recommended for your HTV.
Depending on the material, this may be:
- Iron-On
- Everyday Iron-On
- Glitter Iron-On
- Flocked Iron-On
- SportFlex Iron-On
- Another compatible custom setting
Different HTV constructions may require different blade pressure or cutting settings.
Always perform a test cut when trying a new HTV
A good test cut should:
- Cut cleanly through the vinyl
- Leave the carrier intact
- Weed without excessive force
- Avoid cutting completely through the liner
Testing a small area first can save an entire sheet or roll of material.
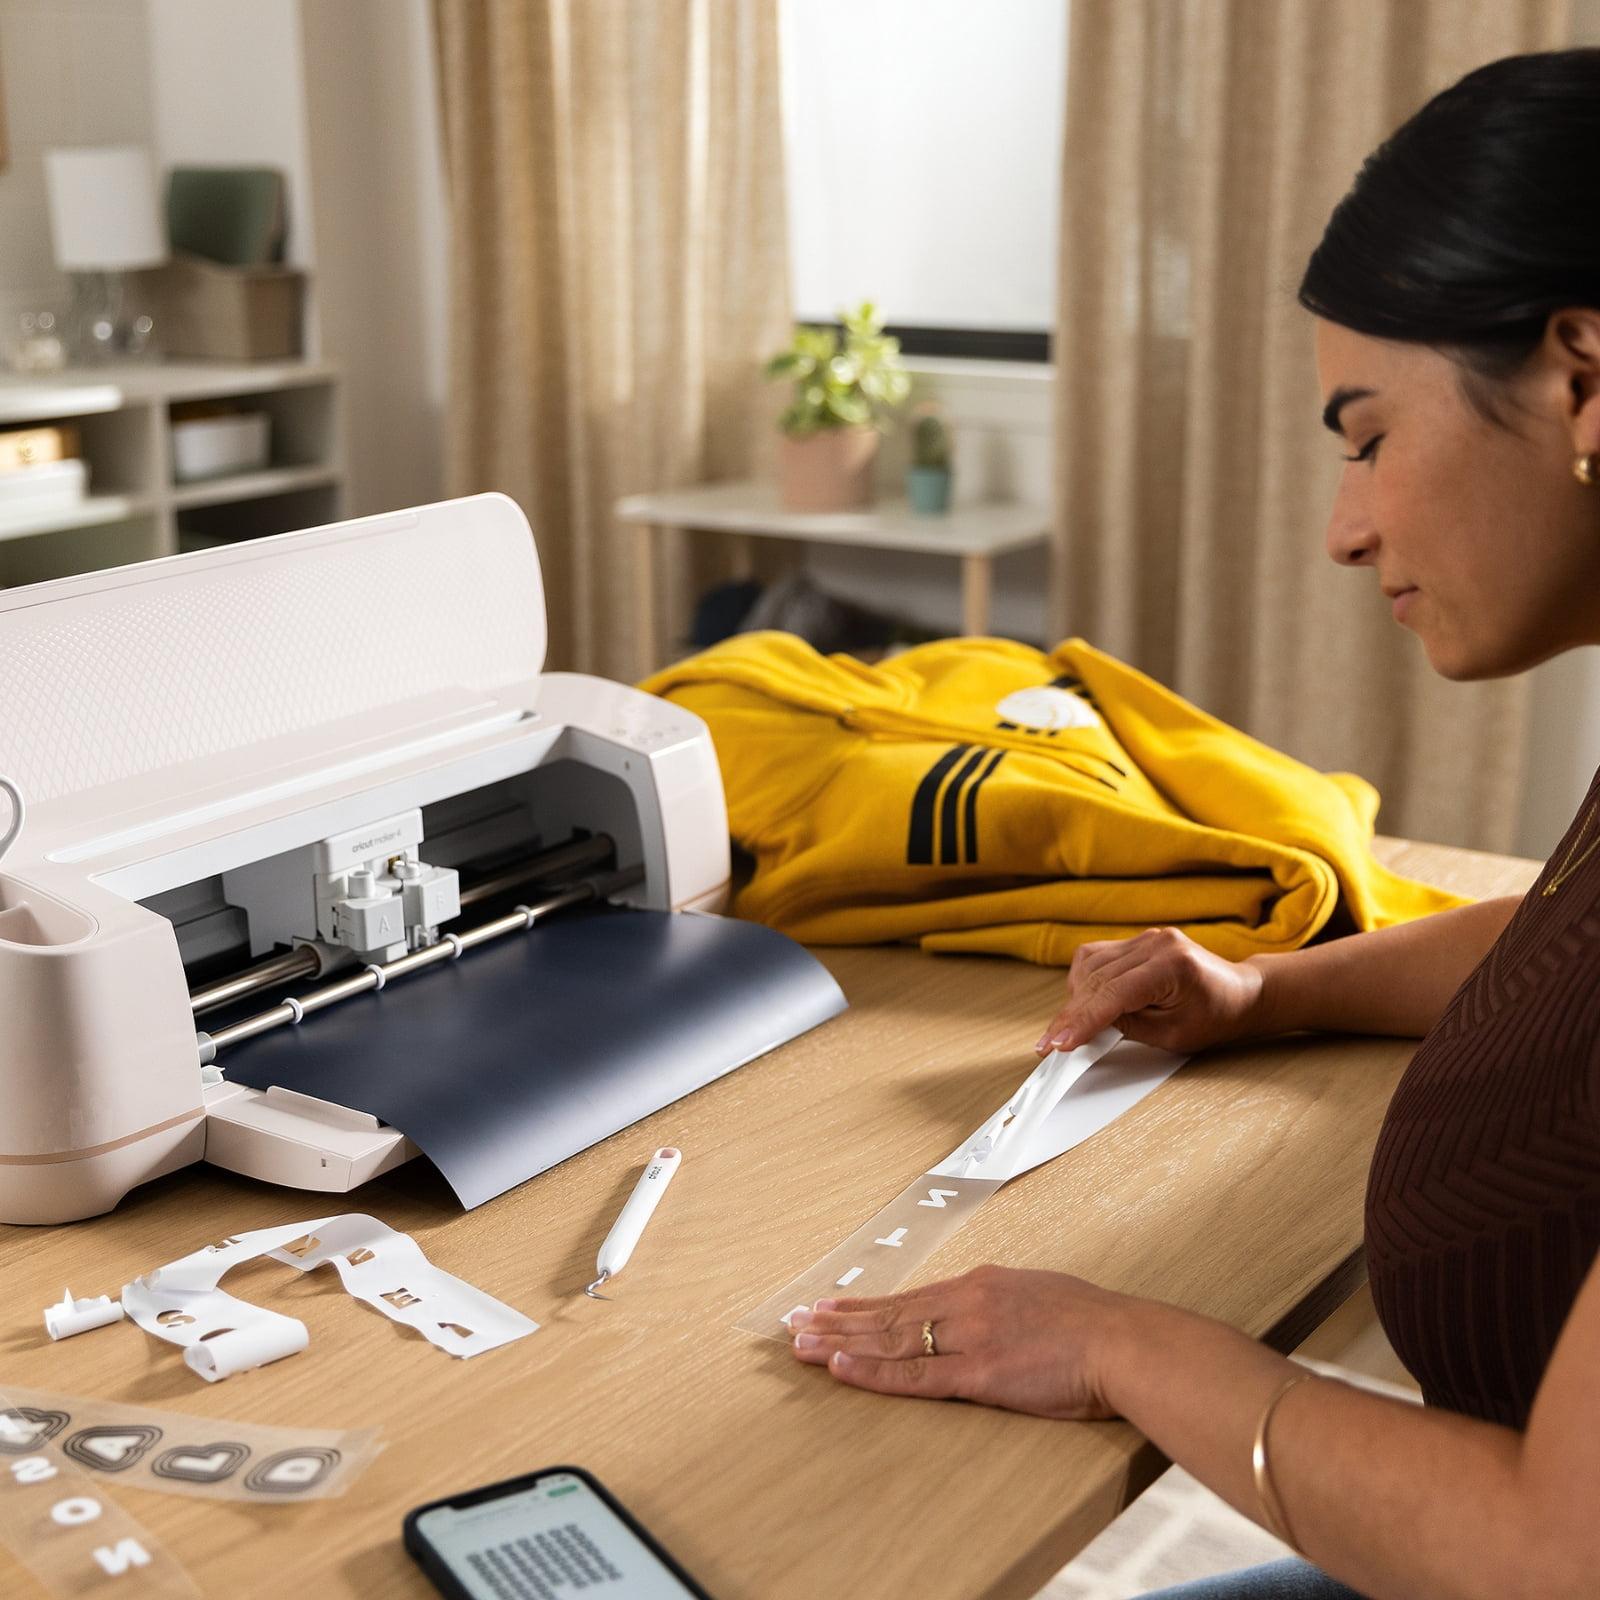
Step 5: Weed the HTV
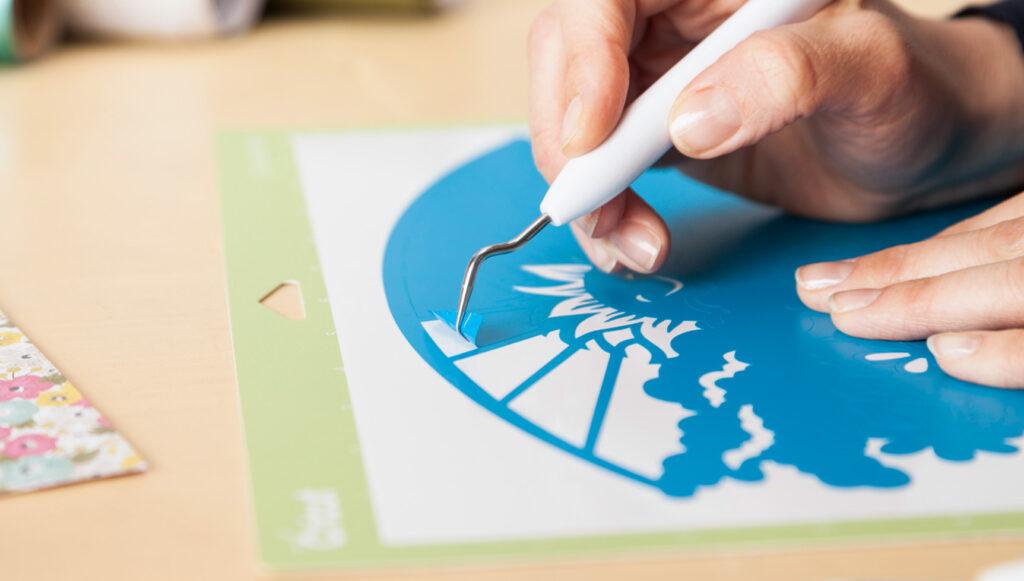
After cutting, remove the material from the machine and begin weeding.
Weeding means removing the unwanted vinyl around and inside your design while leaving the actual design attached to the carrier sheet.
How to weed HTV?
Start by removing the large area of excess vinyl around the design.
Then remove:
- Small pieces inside letters
- The centers of letters such as A, O, P, and R
- Unwanted areas between design elements
- Small negative spaces
A hook-style weeding tool works well for most standard HTV.
For detailed designs, tweezers or a light pad can make the process easier.
Pro tip
Do not rush.
If you pull too aggressively, small parts of the design can sometimes lift from the carrier.
For complicated artwork, work from larger areas toward smaller details.
Step 6: Prepare the Garment
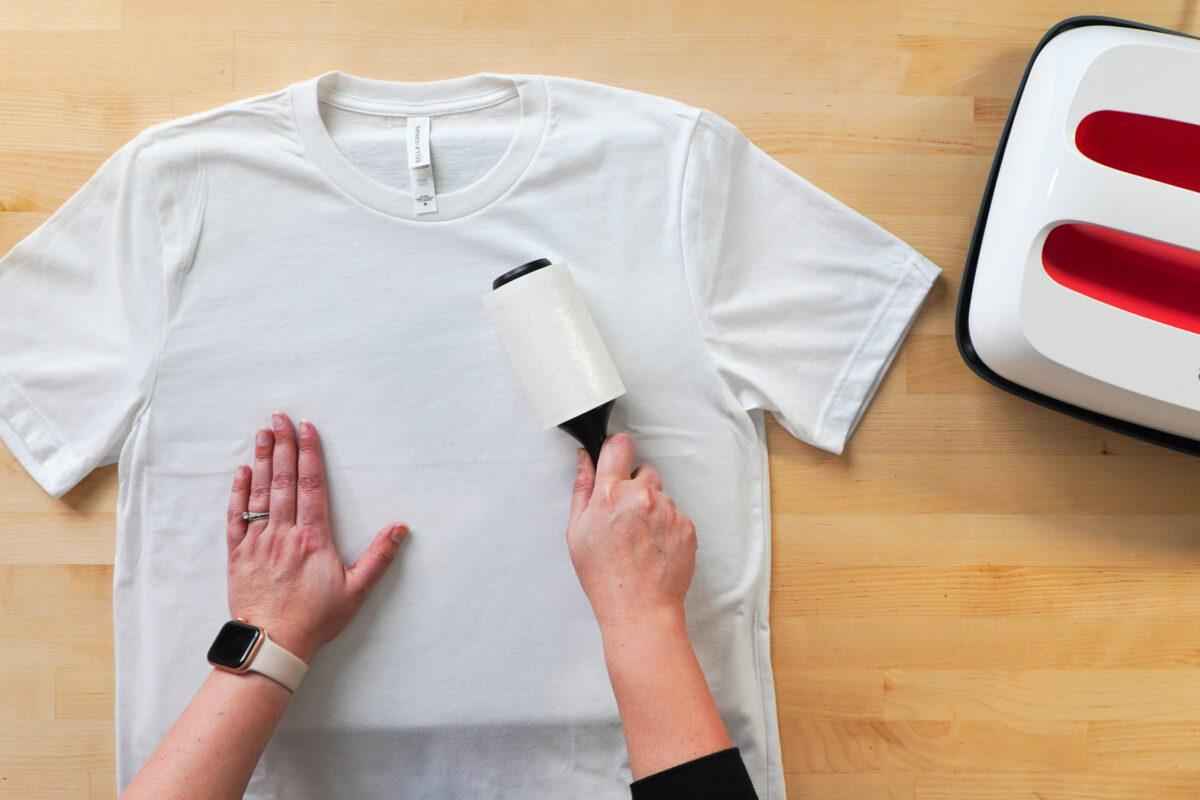
Before pressing your HTV, prepare the fabric.
The application area should be:
- Clean
- Dry
- Flat
- Free from wrinkles
- Free from excessive lint
Use a lint roller to remove dust and loose fibers.
Should you preheat the garment?
Preheating may help remove moisture and wrinkles before application, but the exact preparation procedure depends on the HTV and garment.
Follow the recommended instructions for your specific material.
Avoid applying HTV across:
- Seams
- Zippers
- Thick hems
- Buttons
- Highly uneven surfaces
Uneven surfaces can prevent the heat press from applying consistent pressure.
Step 7: Position the HTV on the Garment
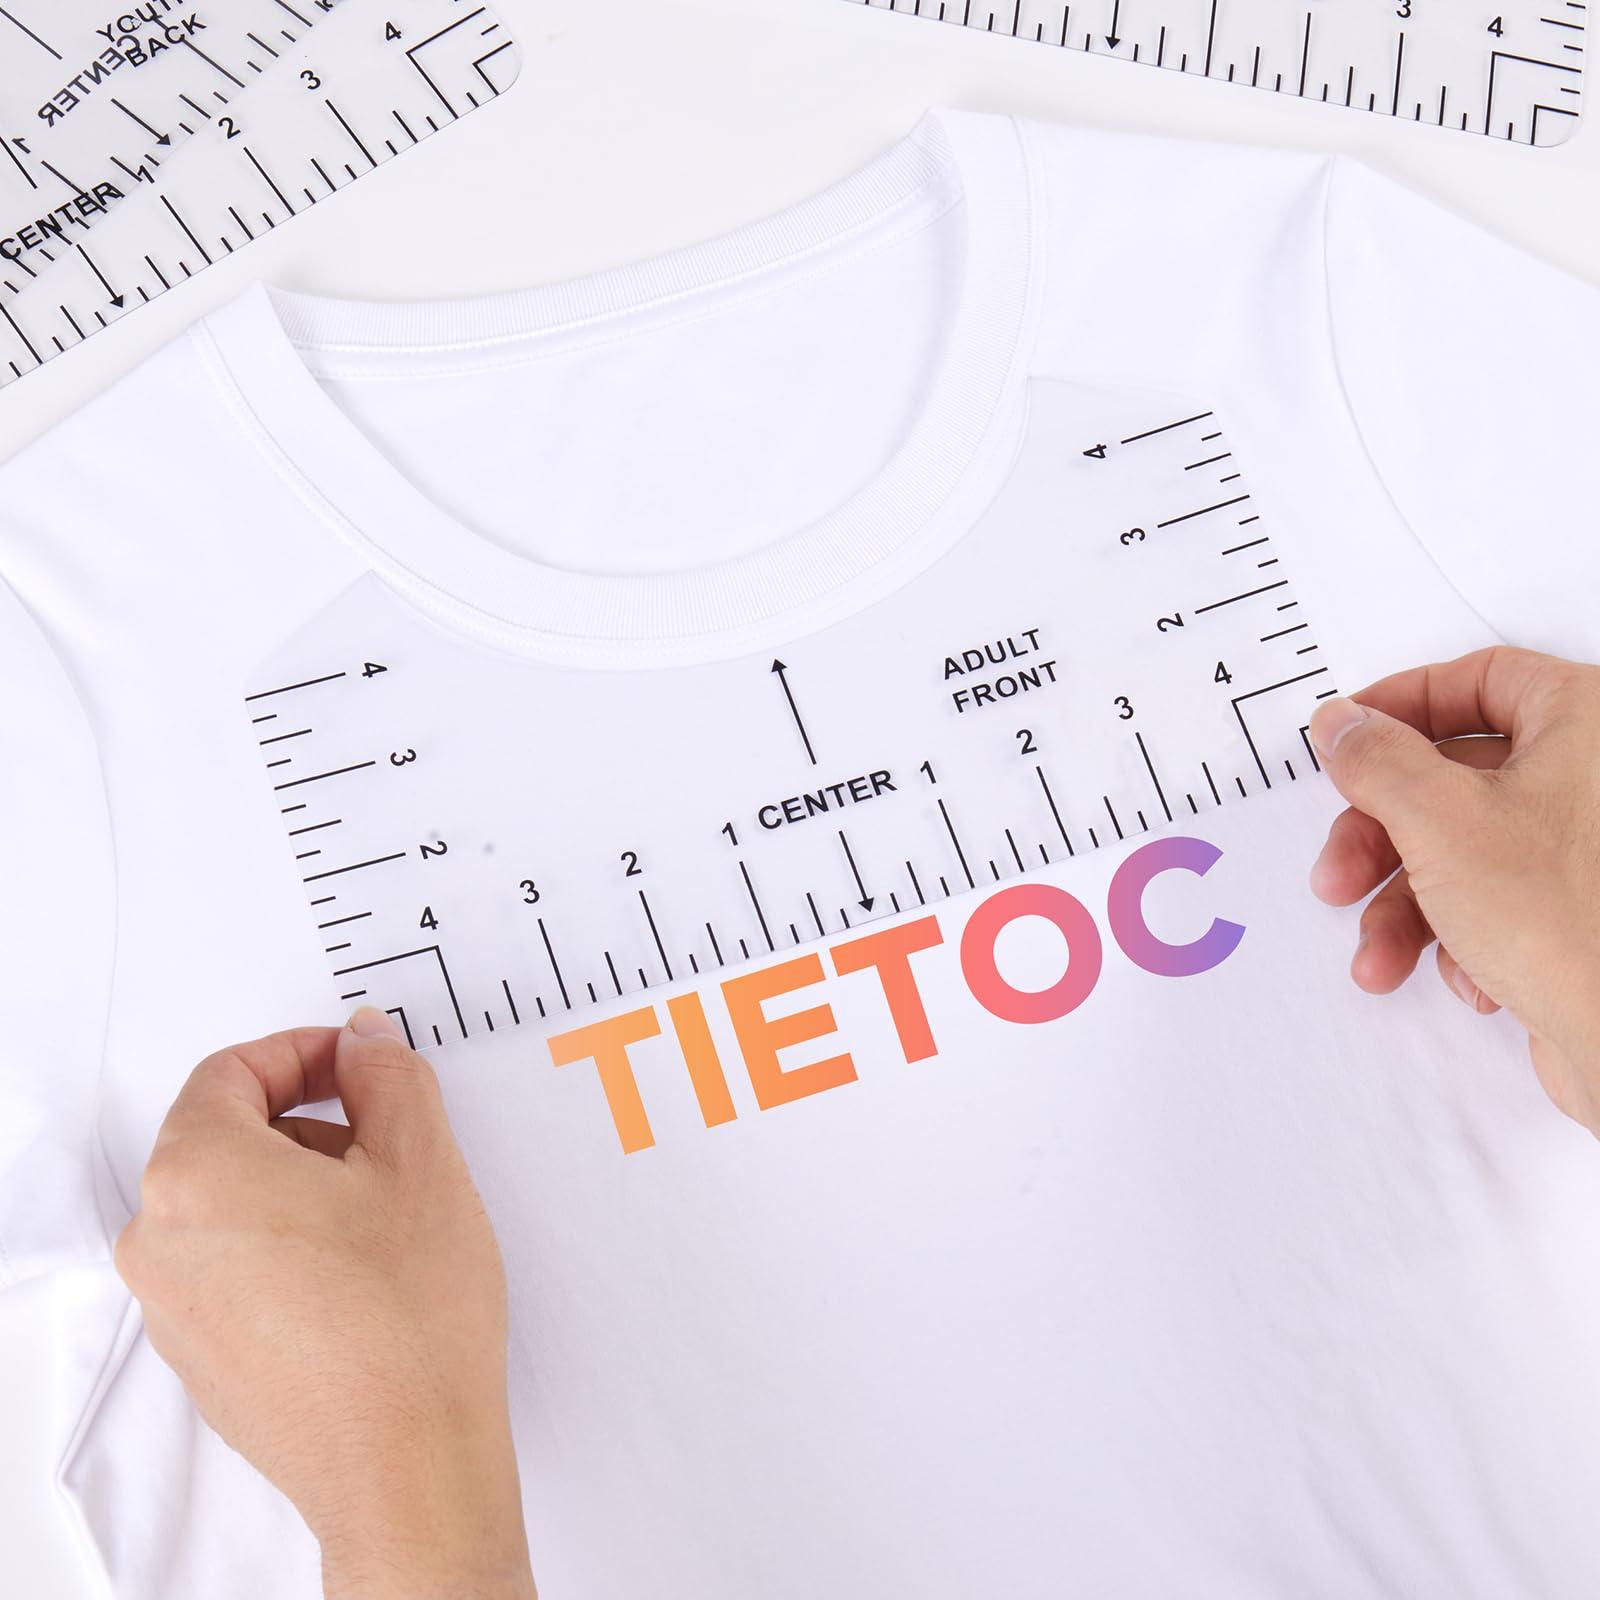
Place the weeded design on the garment with the:
Shiny carrier side UP
The vinyl should be facing the fabric.
Before pressing, check:
- Is the design straight?
- Is it centered?
- Is the height correct?
- Is the spacing correct?
- Are all design elements in the right position?
Once the HTV has been pressed, repositioning it is generally not possible without damaging the transfer or garment.
Easy alignment tip
For center-chest designs, fold the garment lightly in half and use the crease as a visual centerline.
Do not press the crease into the fabric if doing so would affect the application area.
Step 8: Apply the Correct Heat and Pressure
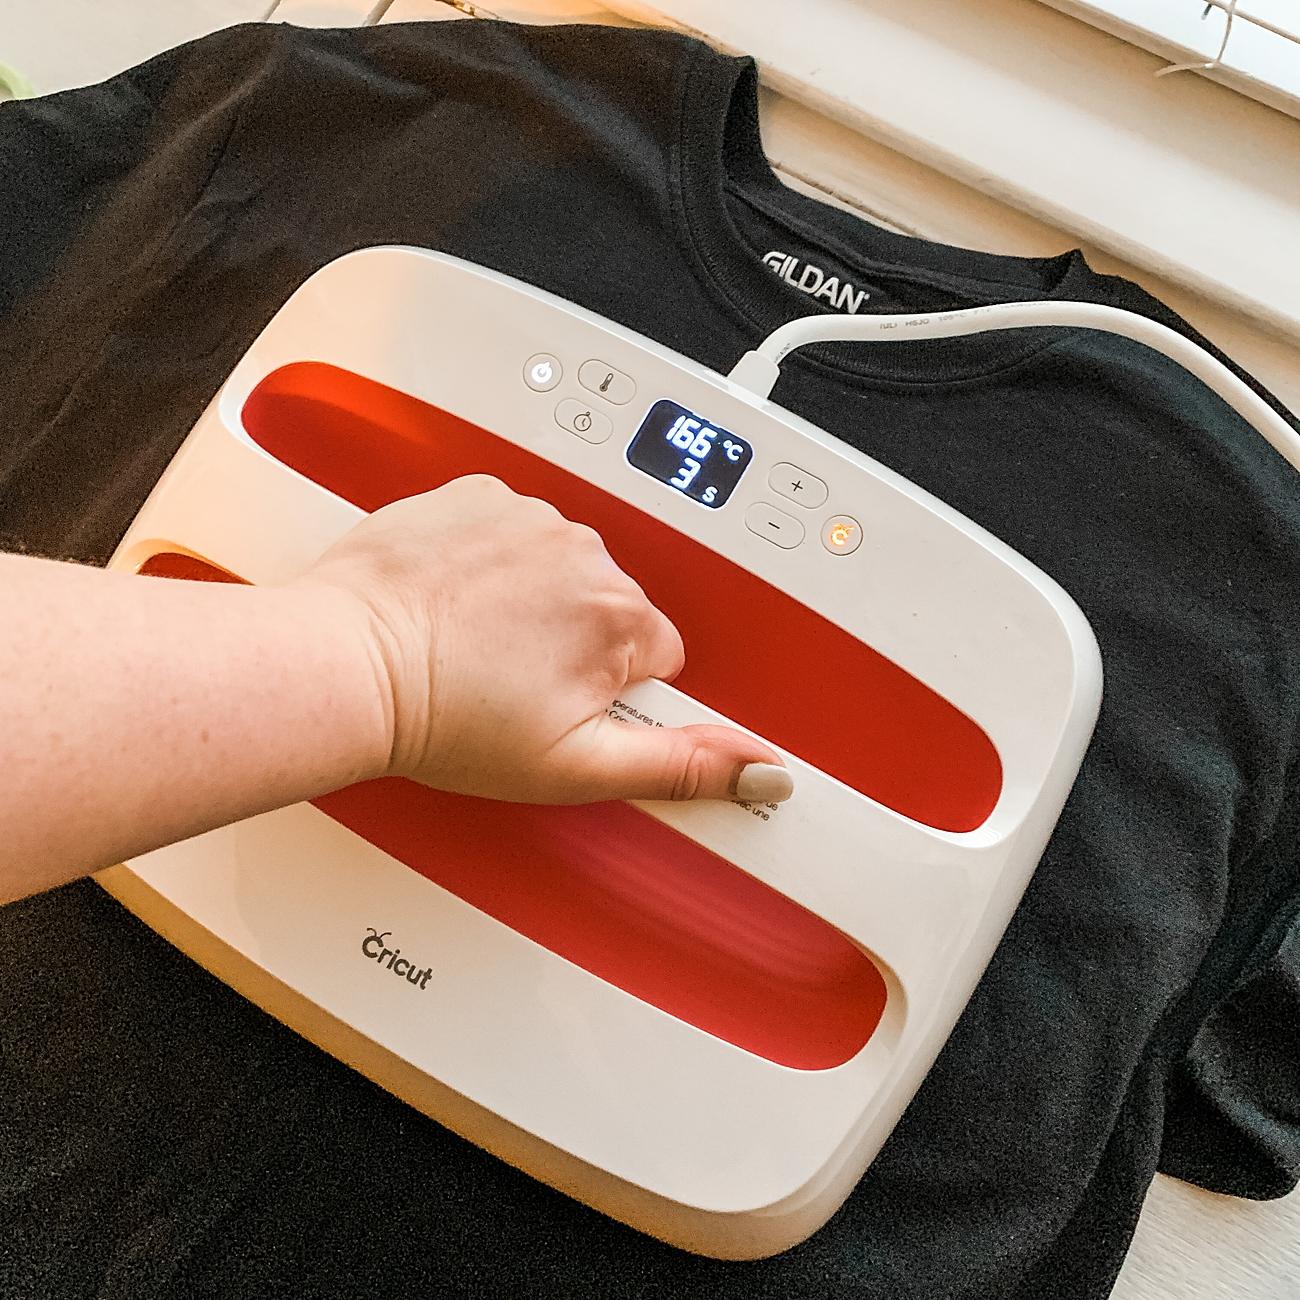
Heat and pressure activate the adhesive and bond the HTV to the fabric.
But this is also where one of the biggest mistakes occurs:
There is no universal HTV temperature or pressing time.
The correct settings can depend on:
- HTV type
- HTV construction
- Garment material
- Fabric thickness
- Heat press model
- Pressure
- Protective sheet
- Manufacturer instructions
Do not rely on a generic HTV temperature chart
You may find online charts recommending one temperature for “standard HTV” and another for “glitter HTV.”
These charts can be useful as general references, but they should not replace the instructions supplied with the actual HTV.
For Cricut heat presses, use the Cricut Heat Guide for the specific combination of heat-transfer material and base material.
The recommended process
Identify the HTV
↓
Identify the garment
↓
Identify your heat press
↓
Check the HTV manufacturer’s application instructions
↓
Check the Cricut Heat Guide when applicable
↓
Test the application
This approach is more reliable than applying one fixed temperature to every HTV project.
Step 9: Peel the Carrier Sheet Correctly
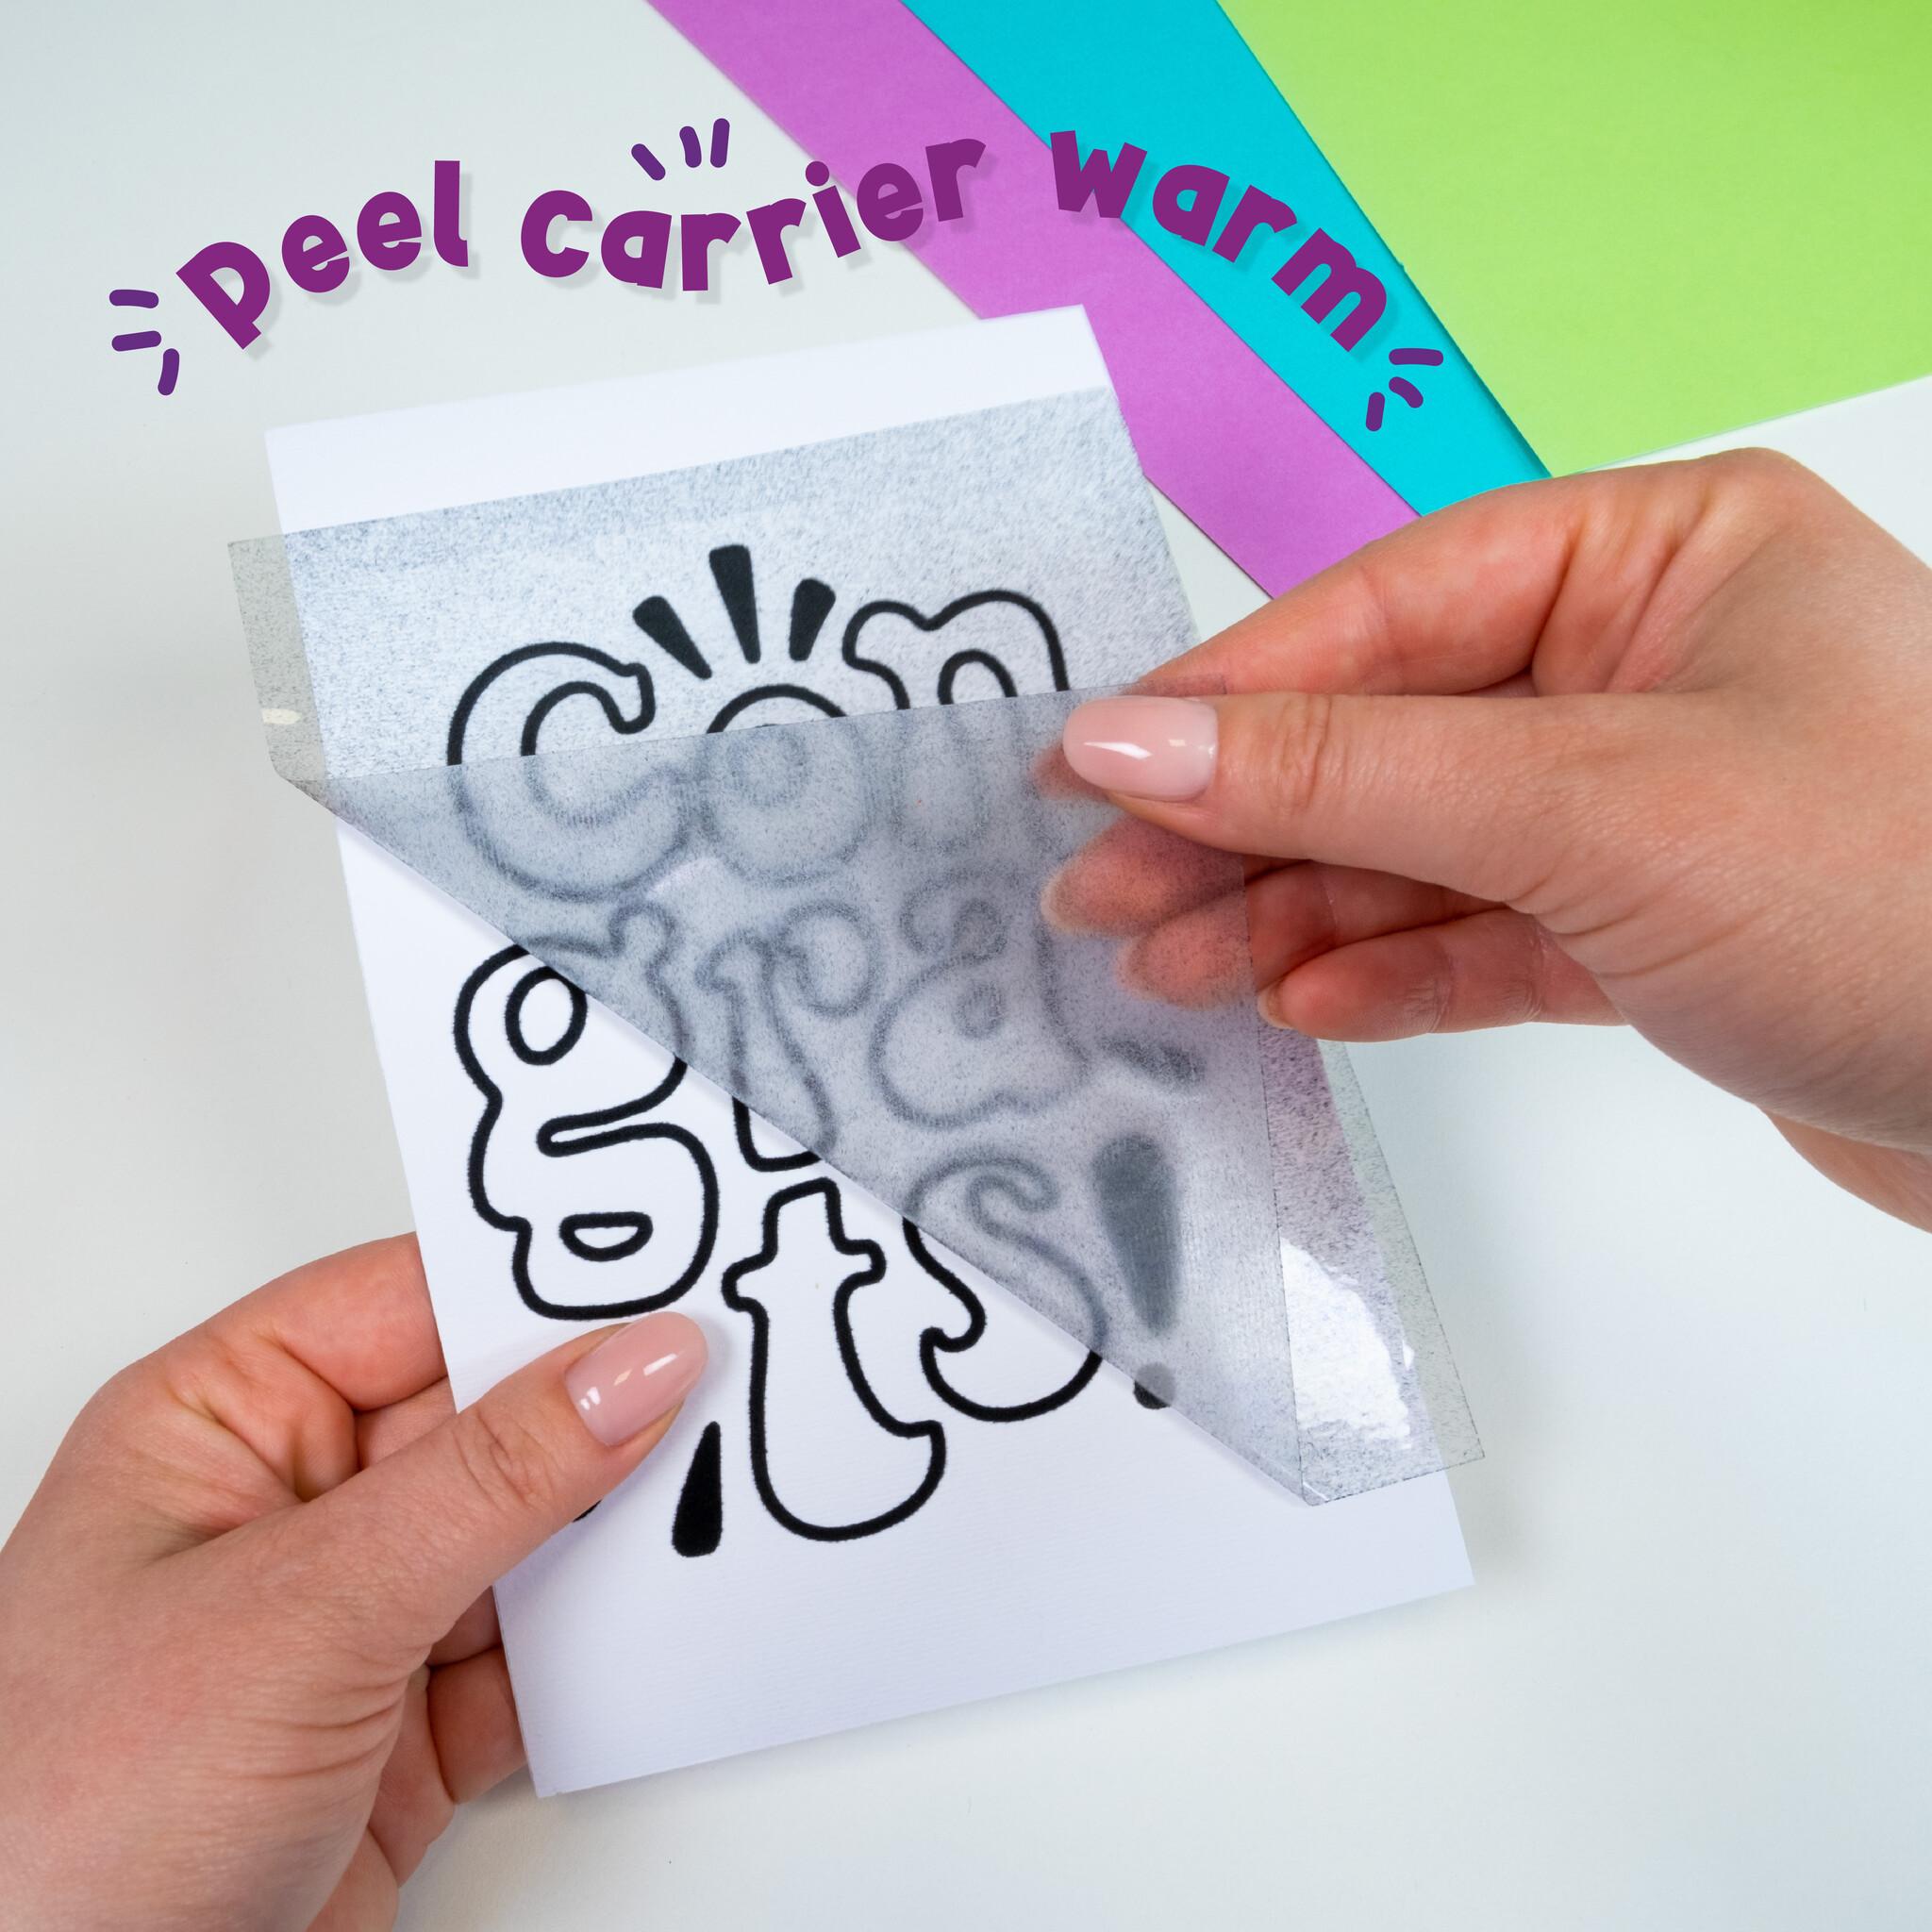
After pressing, the carrier sheet must be removed according to the HTV manufacturer’s instructions.
HTV can use different peel methods, including:
Hot Peel
Remove the carrier shortly after pressing while it is still hot.
Warm Peel
Allow the transfer to cool somewhat before removing the carrier.
Cool or Cold Peel
Allow the transfer to cool before removing the carrier.
Why does peel temperature matter?
If a cold-peel HTV is peeled too early, the design may lift from the fabric.
If a hot-peel material is left until completely cold, the carrier may become more difficult to remove.
Therefore:
Always follow the peel instructions for the specific HTV you are using.
If the vinyl begins lifting with the carrier, stop peeling and follow the manufacturer’s recommended re-press procedure.
Step 10: Check the Finished Transfer
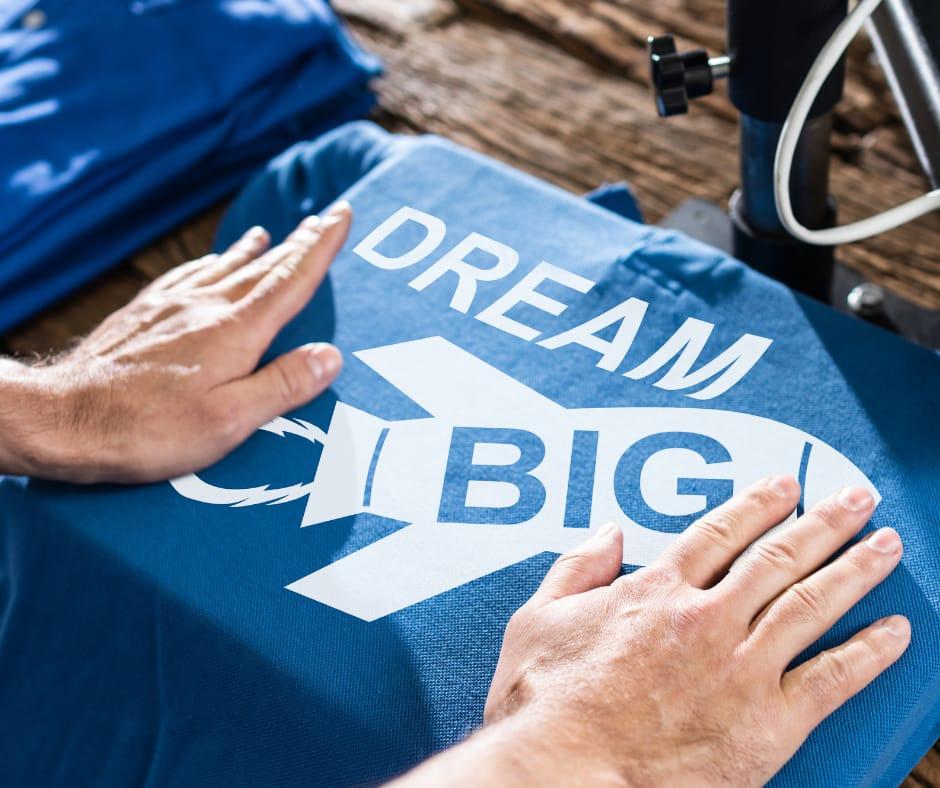
After removing the carrier, inspect the entire design.
Look for:
- Lifted edges
- Incomplete adhesion
- Bubbles
- Wrinkles
- Missing details
- Uneven application
If the manufacturer recommends a final press, follow the specified procedure.
Do not assume that more heat is always better.
Excessive heat can damage certain fabrics or specialty HTV.
Step 11: Care for Your HTV Garment
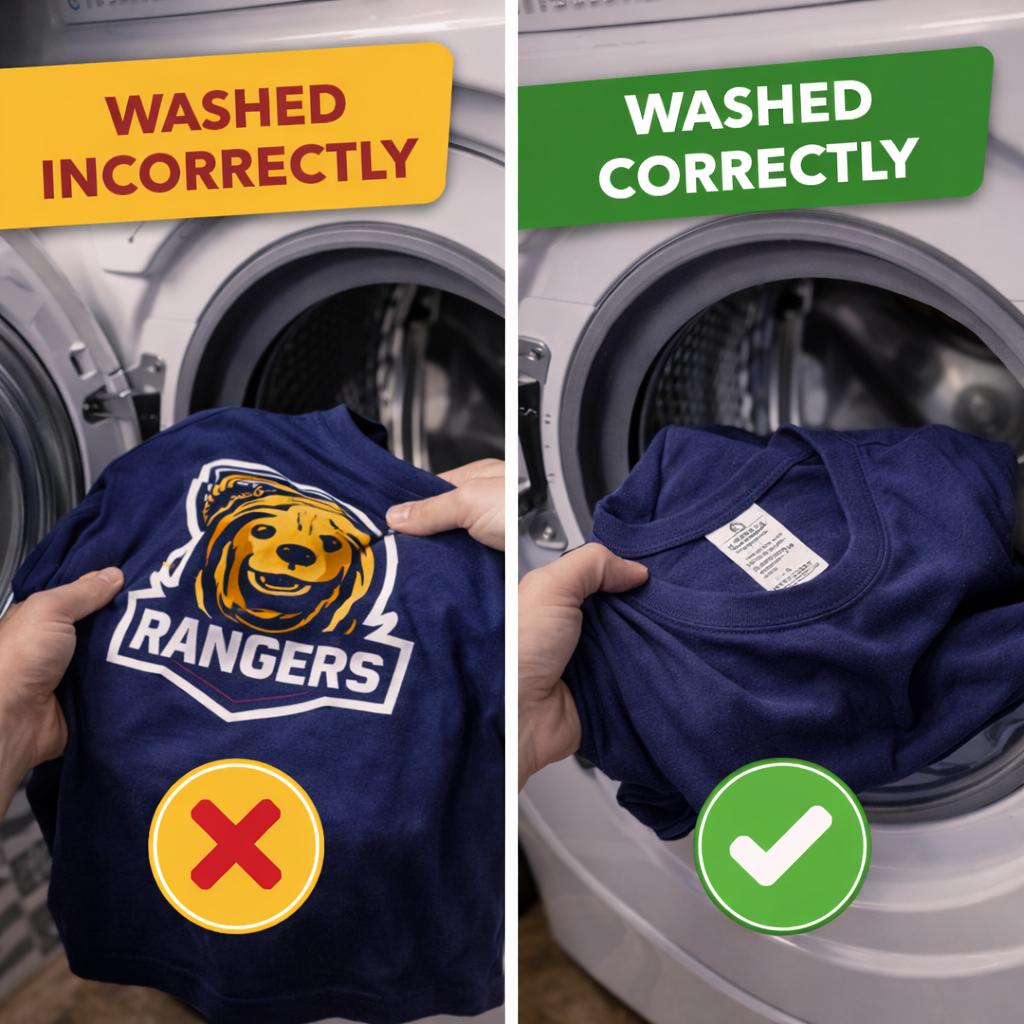
Proper garment care can affect the long-term performance of HTV.
Always follow the manufacturer’s care instructions for your specific product.
As a general starting point:
- Allow the transfer to set according to the manufacturer’s recommended waiting period.
- Turn the garment inside out before washing.
- Use an appropriate washing temperature.
- Use a mild detergent when recommended.
- Avoid harsh chemicals unless specifically permitted.
- Do not iron directly over the HTV design.
The first few washes are particularly important because they provide an early indication of how well the transfer has bonded to the garment.
HTV Heat Press Settings: Why Material and Fabric Matter
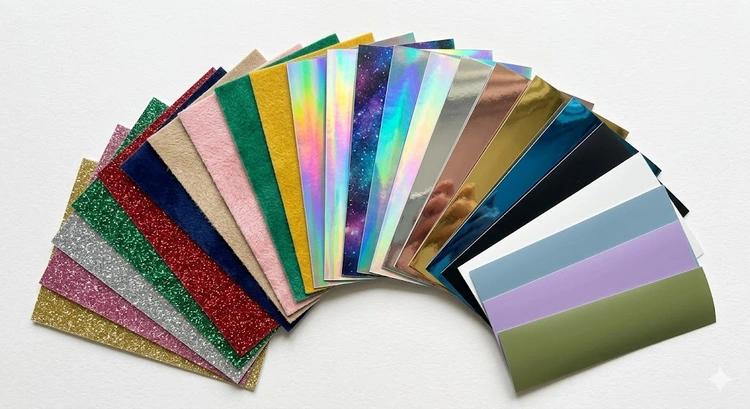
One of the most common questions beginners ask is:
What temperature should I use for HTV?
The answer is:
It depends.
A suitable application setting is determined by the combination of:
HTV + Fabric + Heat Press
For example, a setting that works for one PU HTV on cotton should not automatically be applied to:
- Polyester
- Stretch fabric
- Glitter HTV
- Flocked HTV
- Foil HTV
- Low-temperature HTV
- Other specialty materials
This is why the manufacturer’s instructions and applicable heat guides should be the first reference.
Can You Layer HTV?
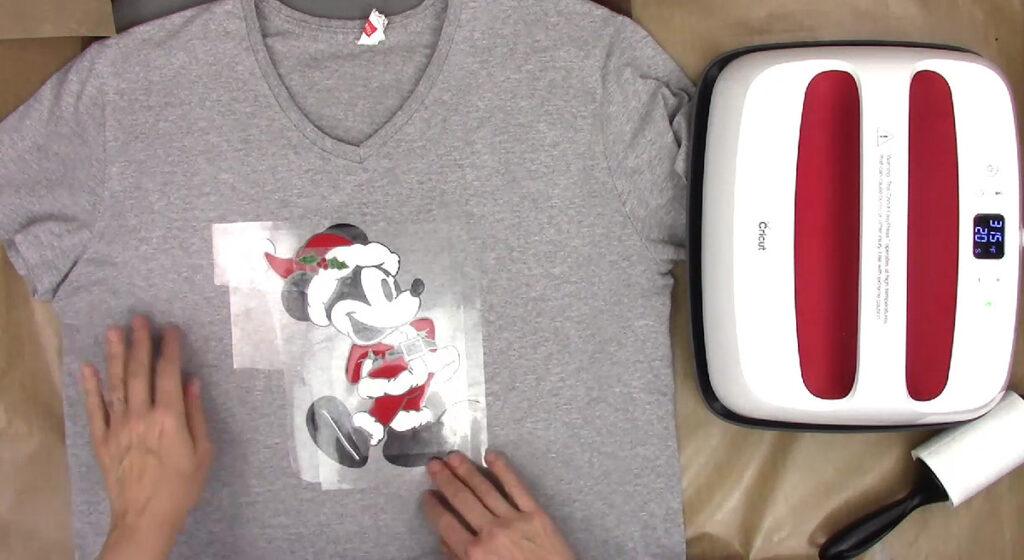
Many HTV projects use multiple colors.
A basic workflow is:
- Separate the artwork by color.
- Mirror each applicable mat.
- Cut each color.
- Weed each piece.
- Align the layers.
- Apply each layer according to the material instructions.
- Complete the final application.
However, not every HTV can be layered.
Some specialty materials are designed to be used only as top layers.
Before layering glitter, foil, holographic, or other specialty HTV, check the manufacturer’s instructions.
6 Common HTV Mistakes and How to Avoid Them
Mistake 1: Forgetting to Mirror
Problem: Text appears backward.
Solution: Enable Mirror before cutting every applicable HTV mat.
Mistake 2: Loading HTV Backwards
Problem: The blade cuts through the carrier sheet.
Solution: For standard HTV, place the shiny carrier side down.
Mistake 3: Using the Wrong Cut Setting
Problem: The HTV is difficult to weed or the carrier is cut.
Solution: Select the appropriate material setting and perform a test cut.
Mistake 4: Using the Wrong Heat or Pressure
Problem: The design does not adhere properly or begins peeling.
Solution: Check the exact HTV + fabric + heat press combination.
Mistake 5: Peeling at the Wrong Temperature
Problem: The design lifts or the carrier does not release cleanly.
Solution: Follow the specified hot, warm, cool, or cold peel instructions.
Mistake 6: Washing Too Soon
Problem: The transfer may peel or degrade prematurely.
Solution: Follow the manufacturer’s recommended waiting and washing instructions.
Real-World HTV Testing: PU vs. PVC
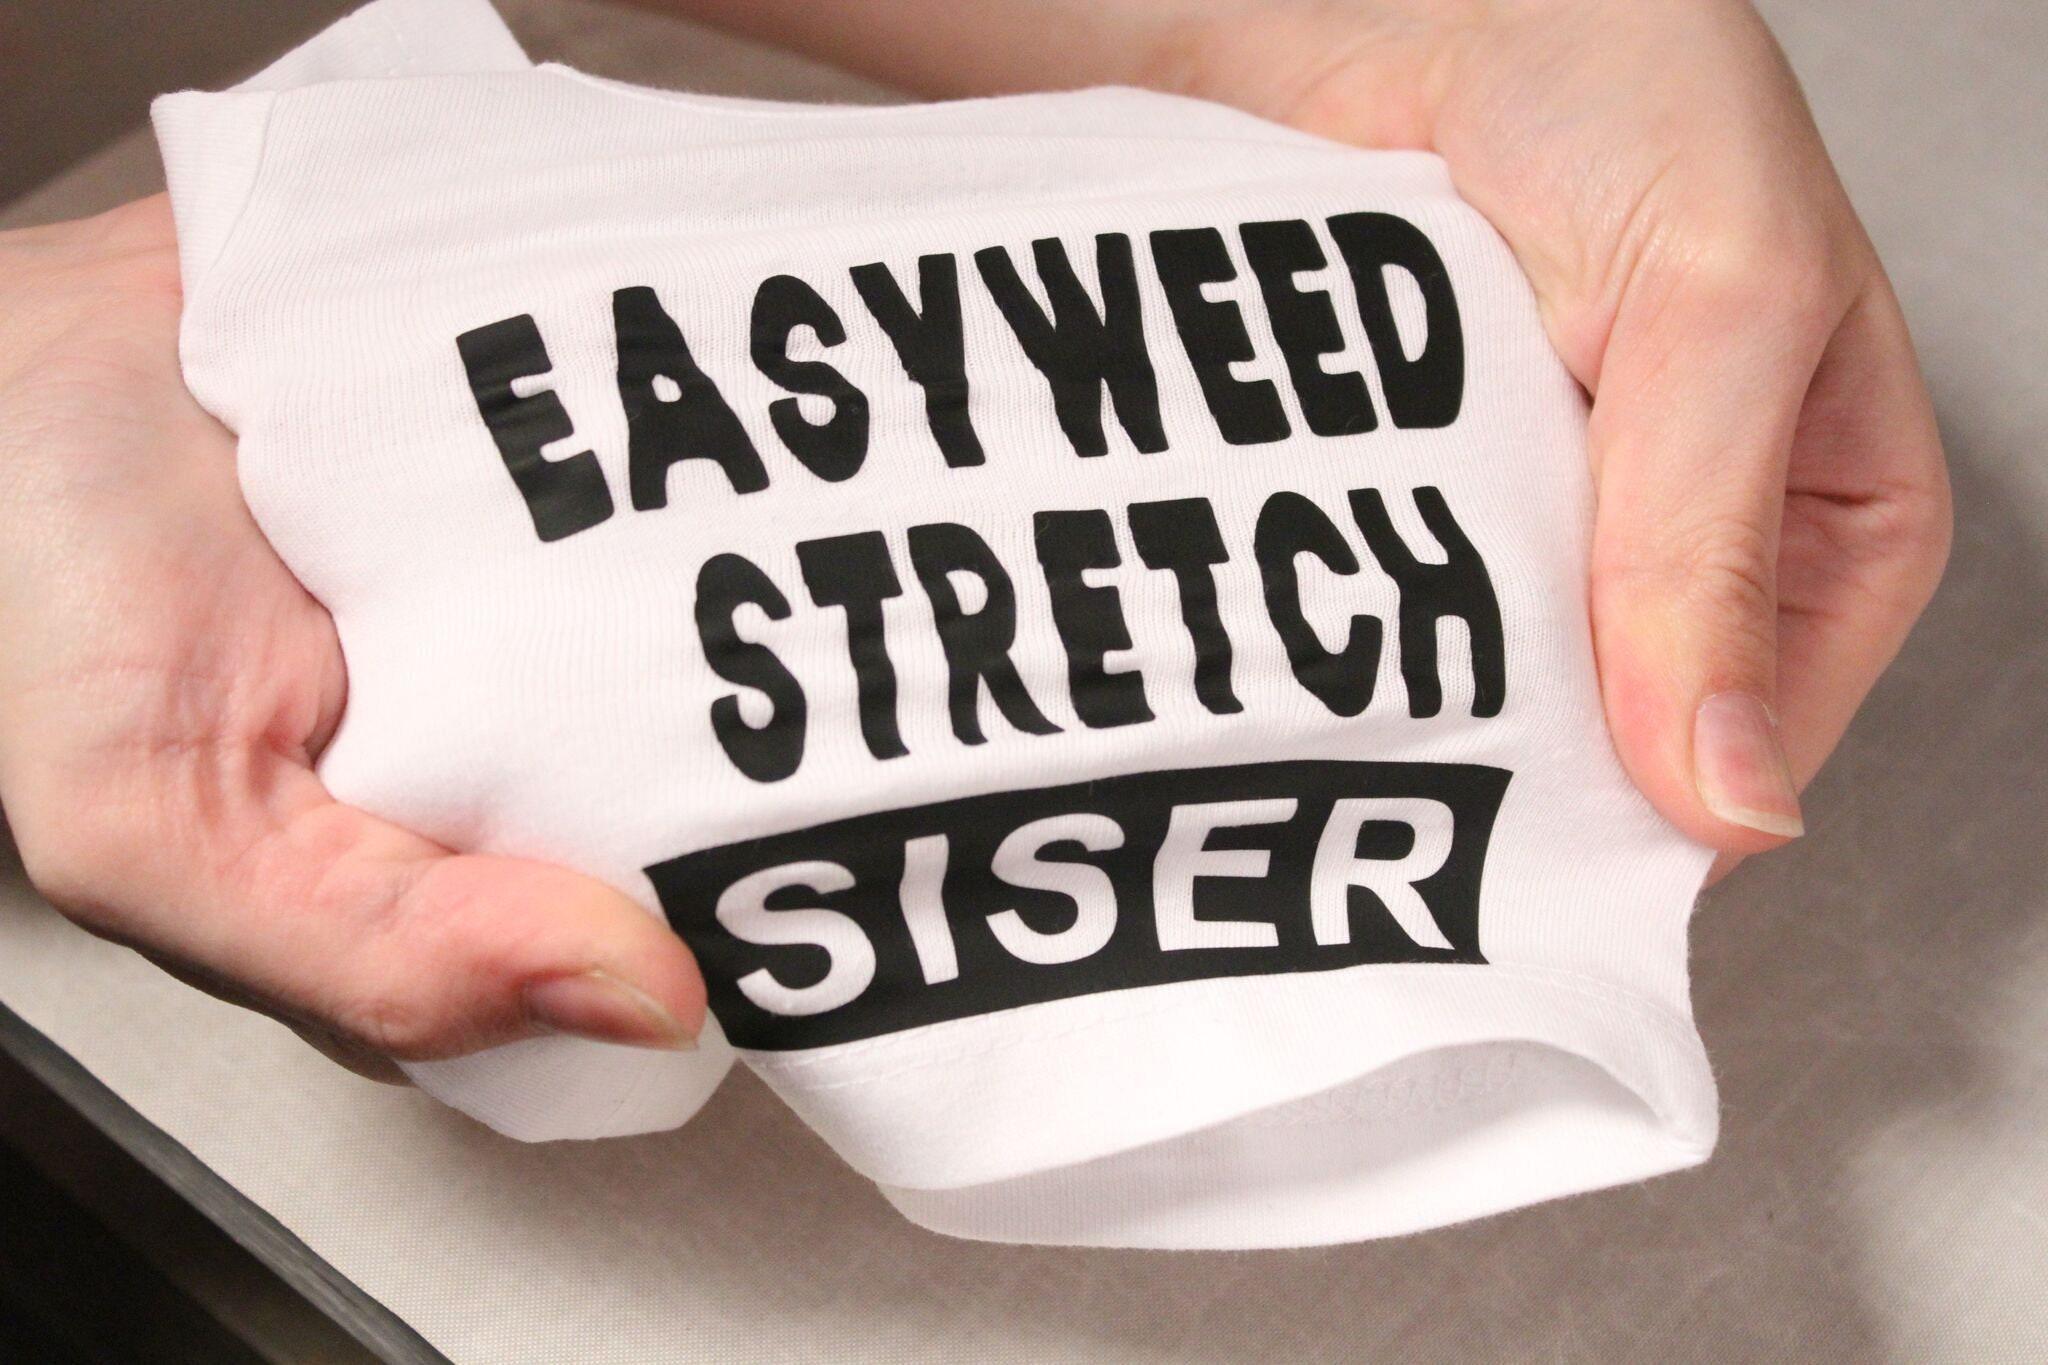
Applying HTV correctly is only part of the equation.
For apparel that will be worn, stretched, and washed repeatedly, the material itself also matters.
To evaluate performance beyond the initial transfer, we conducted comparative testing between PU HTV and PVC HTV, focusing on two practical performance factors:
- Wash durability
- Stretch and rebound performance
The results showed a significant performance difference between the two samples.
After 50 wash cycles, the PU HTV sample retained 92% color with no visible cracking, while the PVC HTV sample retained 68% color and showed visible cracking.
50-Cycle Wash Durability Test
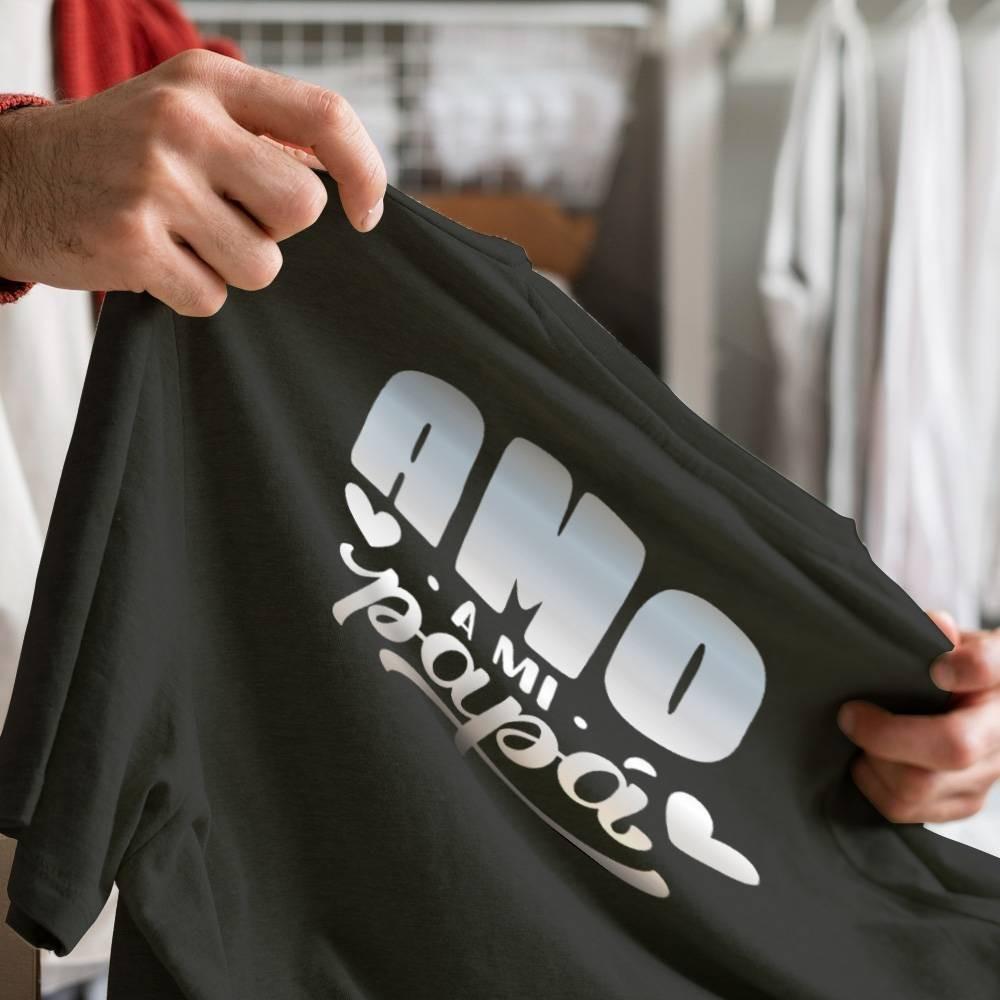
We compared the appearance of PU HTV and PVC HTV after repeated washing.
| Test Result | PU HTV | PVC HTV |
| Wash Cycles | 50 | 50 |
| Color Retention | 92% | 68% |
| Visible Cracking | No cracking | Visible cracking |
| Appearance After Washing | Maintained a more stable appearance | Greater visible degradation |
The test documentation records the PU sample at 92% color retention with no cracking, compared with 68% color retention and visible cracking for the PVC sample.
Why does wash durability matter?
A freshly pressed T-shirt may look excellent immediately after application.
But real garments are exposed to:
- Washing
- Detergent
- Mechanical friction
- Heat
- Folding
- Repeated wear
- Fabric movement
For businesses producing apparel for customers, long-term performance can therefore be more important than initial appearance.
200% Stretch & Rebound Test
Apparel also moves.
A T-shirt stretches when worn. Sportswear moves with the body. Children’s clothing can be repeatedly pulled and stretched.
For these applications, flexibility and rebound are important performance characteristics.
In our comparative stretch test, the HTV samples were stretched to 200% and then released.
Test Results
| Test Result | PU HTV | PVC HTV |
| Stretch Level | 200% | 200% |
| Rebound Rate | >95% | <60% |
| Cracking | No cracking observed | Cracking occurred |
| Recovery | Returned toward original shape | Poorer recovery |
Our test documentation records a rebound rate of more than 95% for PU HTV, compared with less than 60% for the PVC sample. The PVC sample showed cracking during the test.
PU vs. PVC HTV: Key Performance Differences
Our comparison data show several differences between the PU and PVC HTV samples.
| Feature | PU HTV | PVC HTV |
| Thickness | 90–100 microns | 130–160 microns |
| Softness | Excellent | Fair |
| Stretch & Rebound | >95% | <60% |
| Wash Durability | 50+ washes | 20–30 washes |
| Opacity | Excellent | Good |
| Heat Resistance | Up to 160°C | Up to 130°C |
| Typical Feel | Soft & flexible | Thicker & more rigid |
These figures come from the PU vs. PVC comparison materials provided for this project.
Important note about comparison data
These results represent the tested samples and test conditions. They should not be interpreted as proof that every PU product or every PVC product will perform identically.
Formulation, construction, fabric, pressing conditions, washing conditions, and test methods can all affect results.
The purpose of the comparison is to show how material construction can influence HTV performance in practical applications.
Why PU HTV Can Be a Good Choice for Cricut Apparel Projects
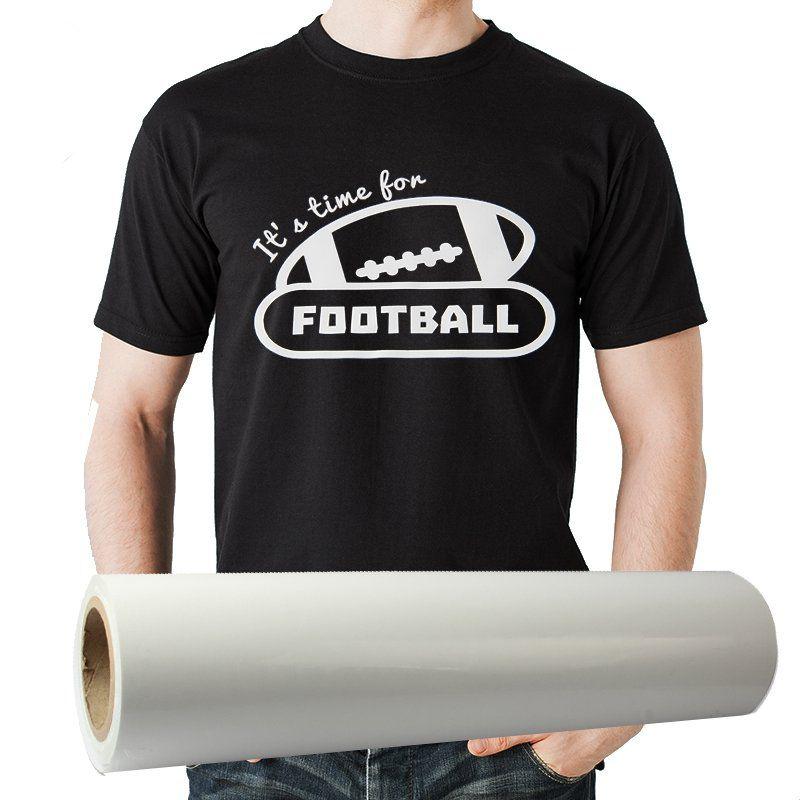
For Cricut users, PU HTV offers advantages beyond cutting and weeding.
Soft Hand Feel
The thinner construction of PU HTV can create a softer and more flexible feel on apparel.
Stretch and Recovery
Our comparative test recorded a rebound rate of more than 95% after 200% stretching, compared with less than 60% for the PVC sample.
Wash Durability
After 50 wash cycles, the PU sample showed 92% color retention and no visible cracking, while the PVC sample showed 68% color retention and visible cracking.
Apparel Applications
PU HTV can be considered for applications such as:
- Fashion T-shirts
- Sportswear
- Activewear
- Children’s clothing
- Corporate uniforms
- Custom apparel
- Personalized garments
HTV vs. Adhesive Vinyl: What’s the Difference?
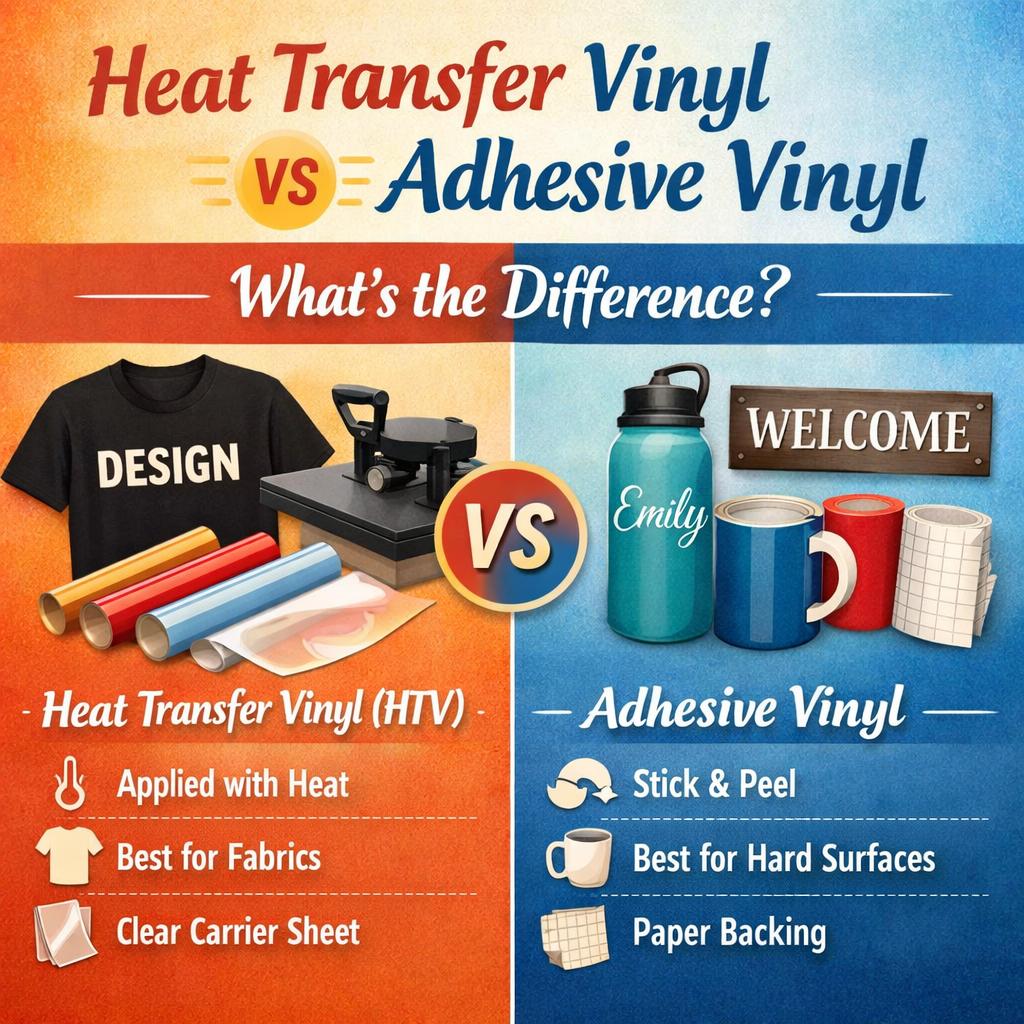
Although HTV and adhesive vinyl may look similar, they are designed for different applications.
HTV
HTV is activated by heat and is primarily used on textiles.
Typical applications include:
- T-shirts
- Hoodies
- Tote bags
- Sportswear
- Uniforms
Adhesive Vinyl
Adhesive vinyl uses a pressure-sensitive adhesive and is commonly used on hard surfaces.
Typical applications include:
- Signs
- Windows
- Labels
- Decorative surfaces
- Some mugs and containers
The most important difference is therefore not appearance.
It is:
HTV = heat application to compatible textiles
Adhesive vinyl = pressure-sensitive application to compatible surfaces
Final Takeaway: How to Use HTV with Cricut Successfully
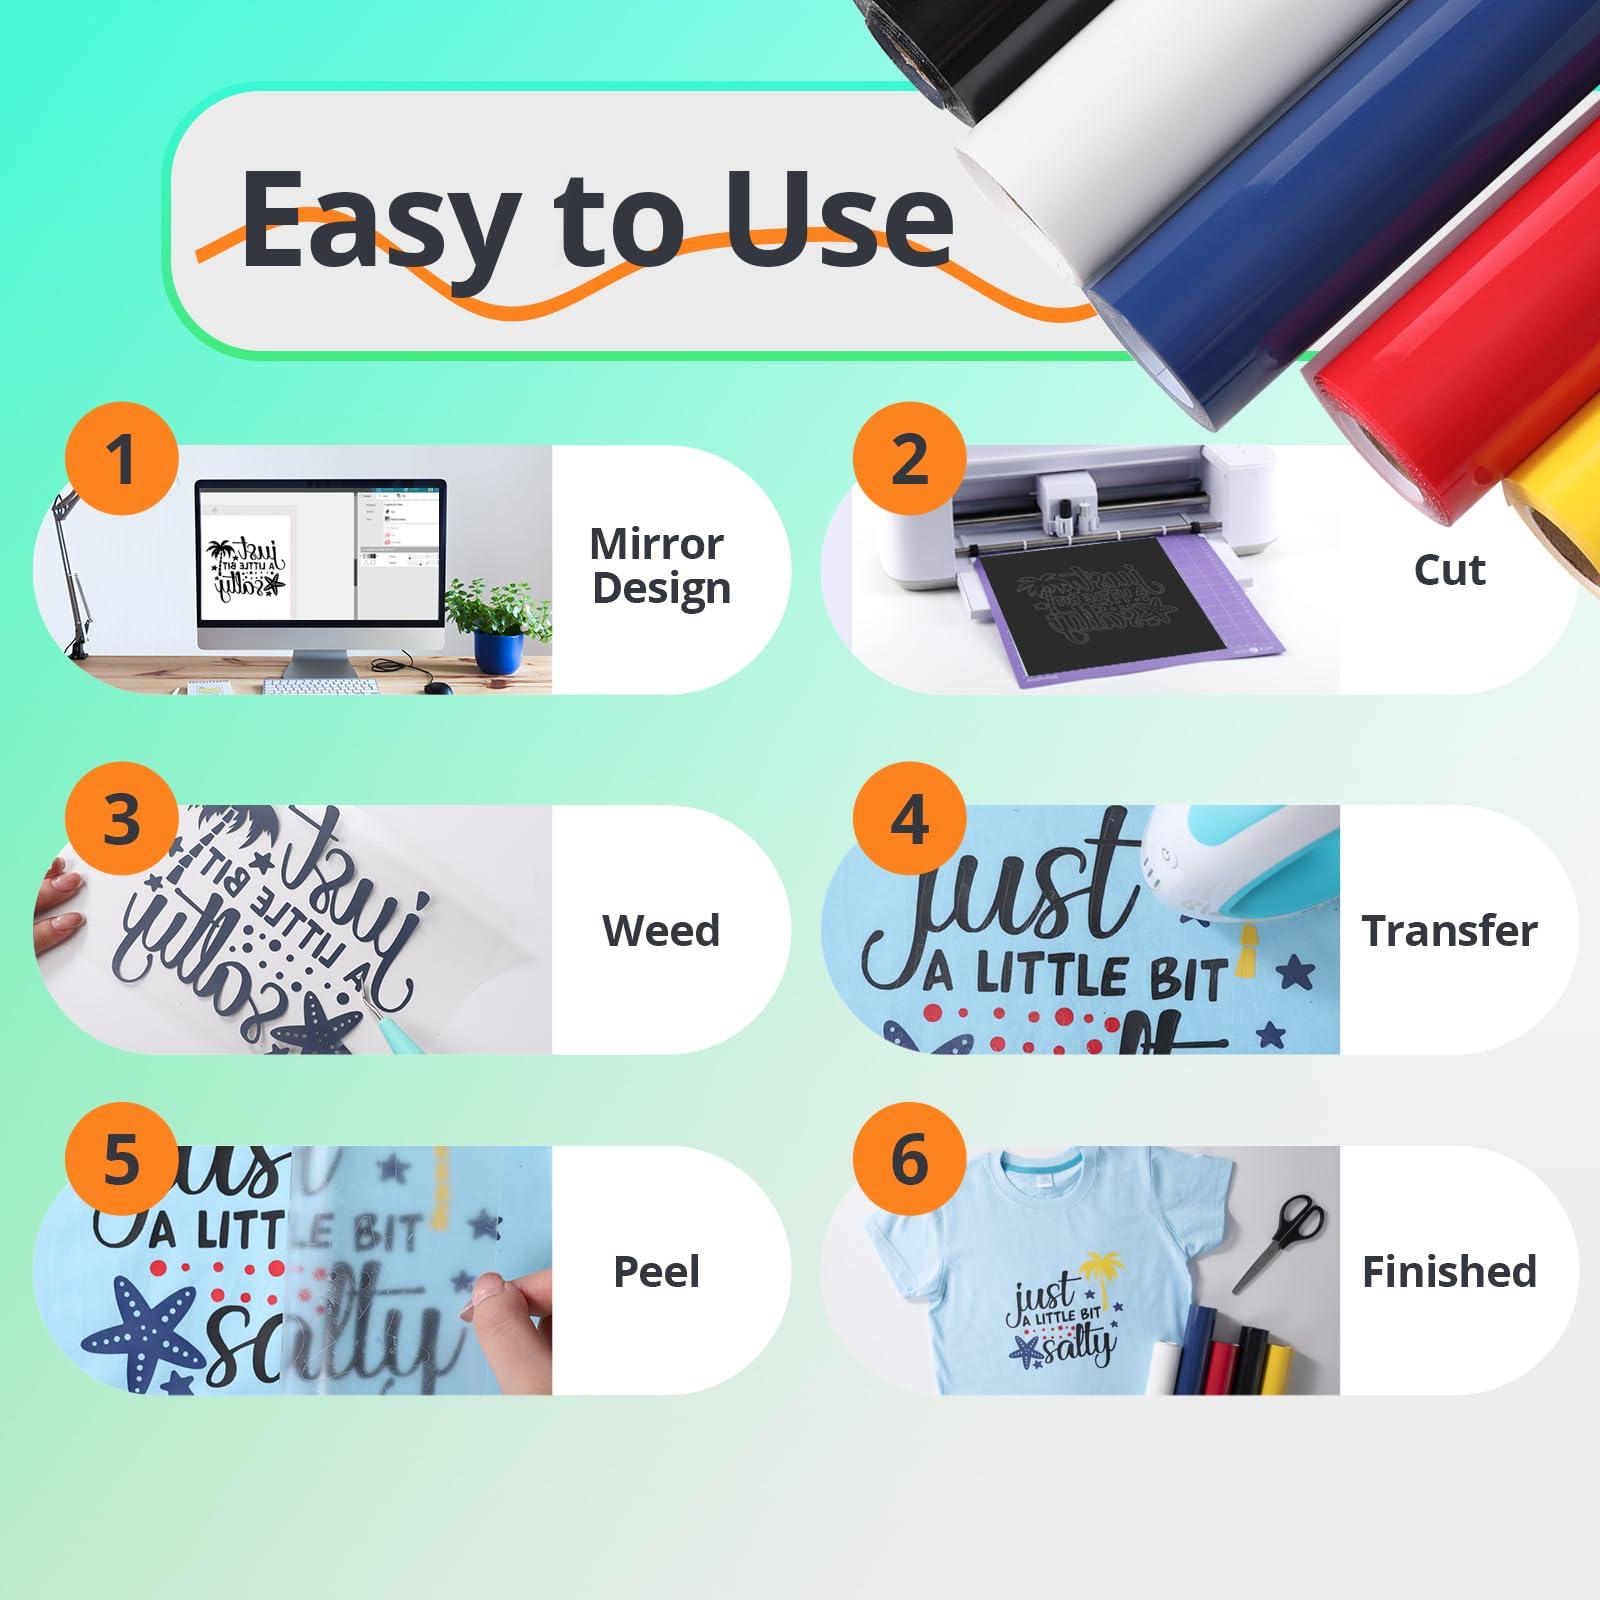
Using HTV with a Cricut machine is straightforward once you understand the basic workflow:
Design → Mirror → Load → Cut → Weed → Prepare → Position → Press → Peel → Care
For beginners, the two mistakes to avoid first are:
- Forgetting to mirror the design
- Using the wrong application settings or peel method
But successful HTV application is about more than simply getting a design onto a T-shirt.
If the garment will be worn, stretched, and washed repeatedly, the material’s long-term performance also matters.
Our comparative PU vs. PVC testing showed that the PU HTV sample retained 92% color after 50 wash cycles with no visible cracking, while the PVC sample retained 68% color and showed visible cracking. In the 200% stretch test, the PU sample recorded a rebound rate above 95%, compared with less than 60% for the PVC sample.
These results demonstrate why HTV should be evaluated based on more than cutting and initial appearance.
For personal DIY projects, choose a compatible HTV and follow its application instructions carefully.
For commercial apparel production, also consider:
- Softness
- Flexibility
- Adhesion
- Wash durability
- Stretch recovery
- Cutting and weeding efficiency
- Production consistency
We develop and manufactures PU heat transfer vinyl for apparel decoration, Cricut-compatible cutting applications, distributors, printing businesses, and OEM/private-label customers.
Which side of HTV goes down on a Cricut mat?
For standard HTV, place the shiny carrier or liner side down on the cutting mat and the vinyl side up.
Can you use HTV with Cricut?
Yes. Compatible HTV can be cut using Cricut cutting machines. The appropriate material setting depends on the HTV product and machine.
Can I use an iron instead of a heat press for HTV?
Some HTV products can be applied with a household iron. However, a heat press generally provides more consistent heat and pressure. Always follow the manufacturer’s instructions.
What temperature should I use for HTV?
There is no universal HTV temperature. The correct setting depends on the HTV, fabric, and heat press. Use the manufacturer’s instructions and the Cricut Heat Guide when applicable.
Why is my HTV peeling after washing?
Common causes include insufficient heat, insufficient pressure, incorrect pressing time, incorrect peel timing, unsuitable fabric, or washing the garment too soon.
How long should I wait before washing HTV?
Follow the care instructions for your specific HTV. Many products recommend waiting before the first wash to allow the transfer to properly set.
Can HTV be layered?
Some HTV products can be layered, but specialty materials may have specific restrictions. Always check the manufacturer’s instructions before layering.
What is the easiest HTV for beginners?
Standard PU HTV is a practical starting point for many beginners because it is generally thin, flexible, and relatively easy to cut and weed.
Is PU HTV better than PVC HTV?
The answer depends on the specific product and application. In our comparative testing, the PU HTV sample showed better wash and stretch performance than the PVC sample, including 92% color retention after 50 wash cycles and a rebound rate above 95% in the 200% stretch test.